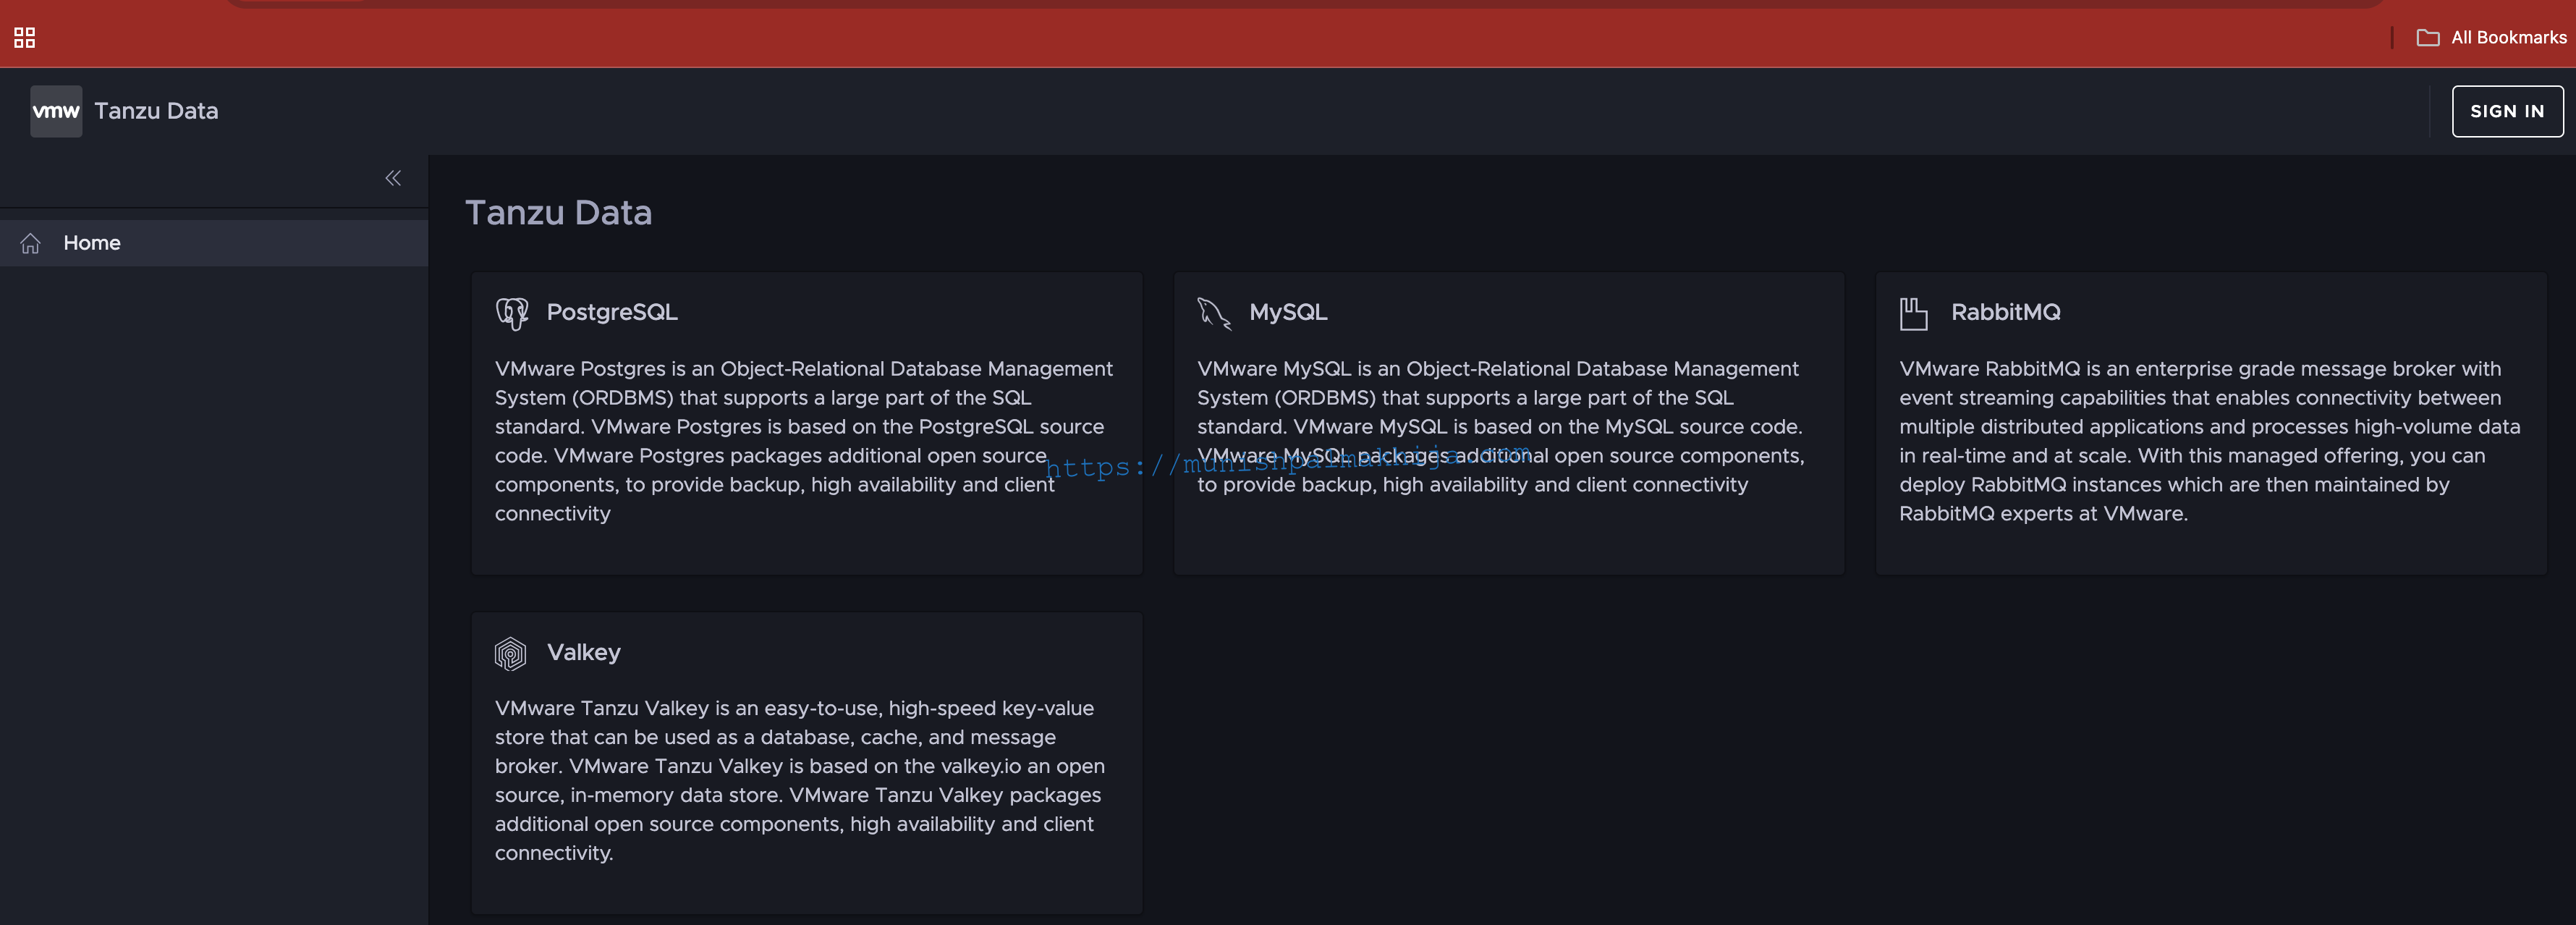
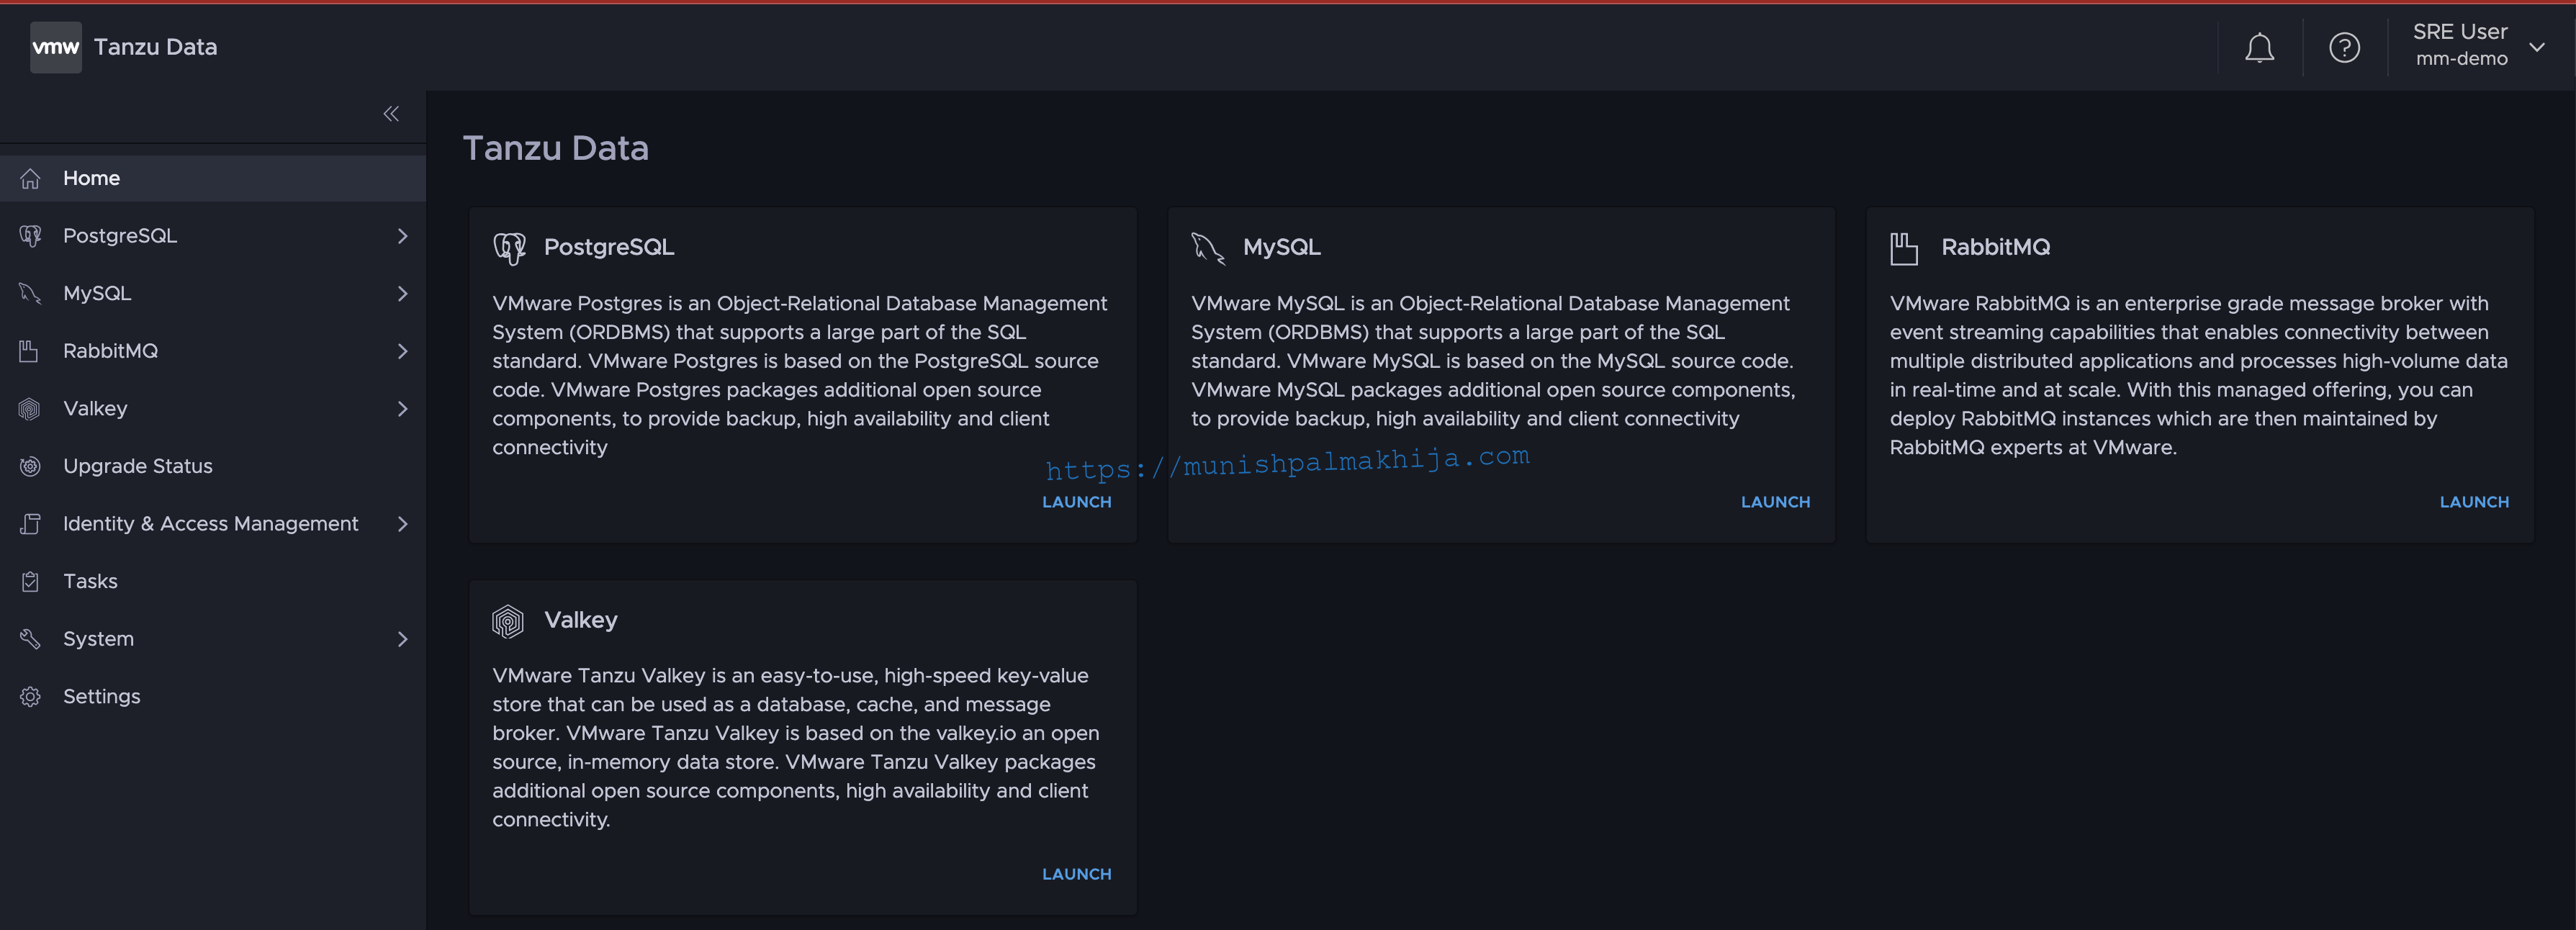
Tanzu Data Management Console (TDMC) supports provisioning of the following data services
- PostgreSQL
- MySQL
- RabbitMQ
- Valkey
- Redis (Soon to be deprecated)
In this blog, I will walk through the UI procedure to provision a PostgreSQL Database.
Prerequisites
To create a PostgreSQL database with TDMC, you will need the following
- Supported K8s Cluster onboarded as Dataplane (For more details about Onboarding Dataplane, you can refer to my previous blog)
- Organization (Org) is created. Orgs in TDMC represent groups of users and other identities who share access to the same data resources. It represents the same team, department, or business unit. For more details on IAM, you can refer to this doc. I will also showcase how to create below
- Object Storage is configured. By default, TDMC comes with SeaweedFS, which is an S3-compliant object store. You can also use any S3-compliant Storage Provider. I have tested with AWS S3 & MinIO.
- SMTP Server is configured. The SMTP Server in TDMC is used for inviting users to organizations, resetting passwords, and other identity operations.
Create Org
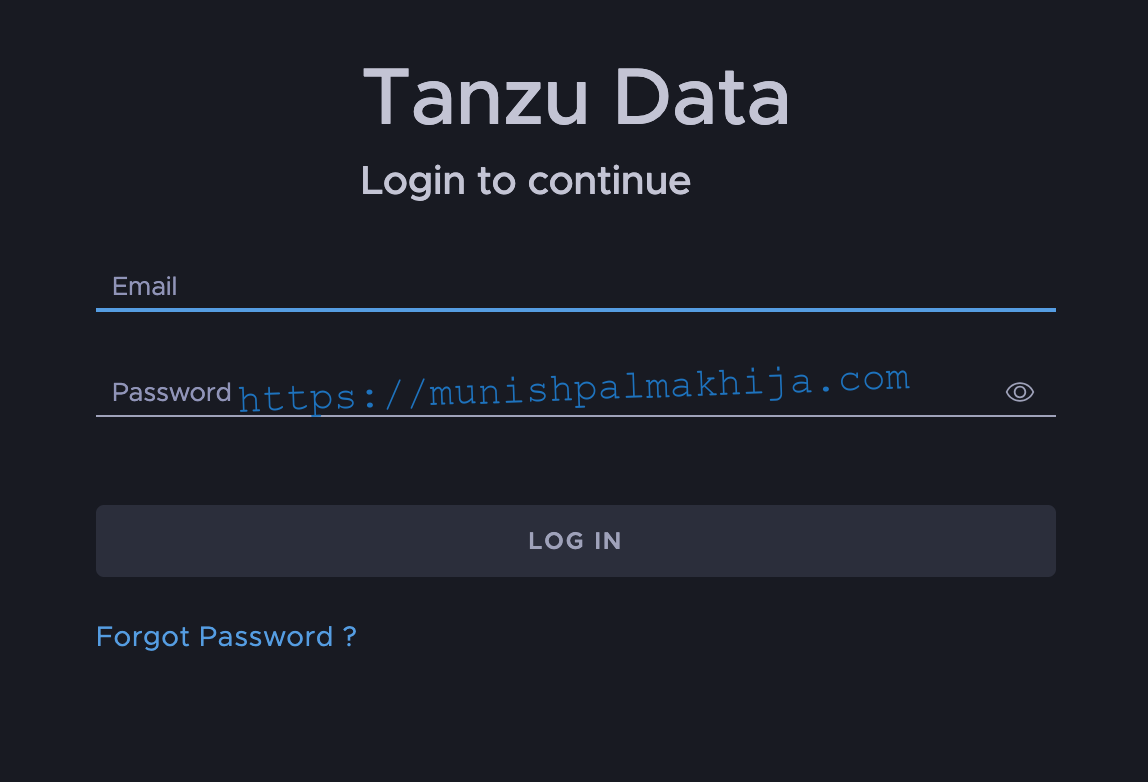
Open any browser and access the Control Plane URL, and Click on Sign in
Sign in as SRE User (that was specified during install)
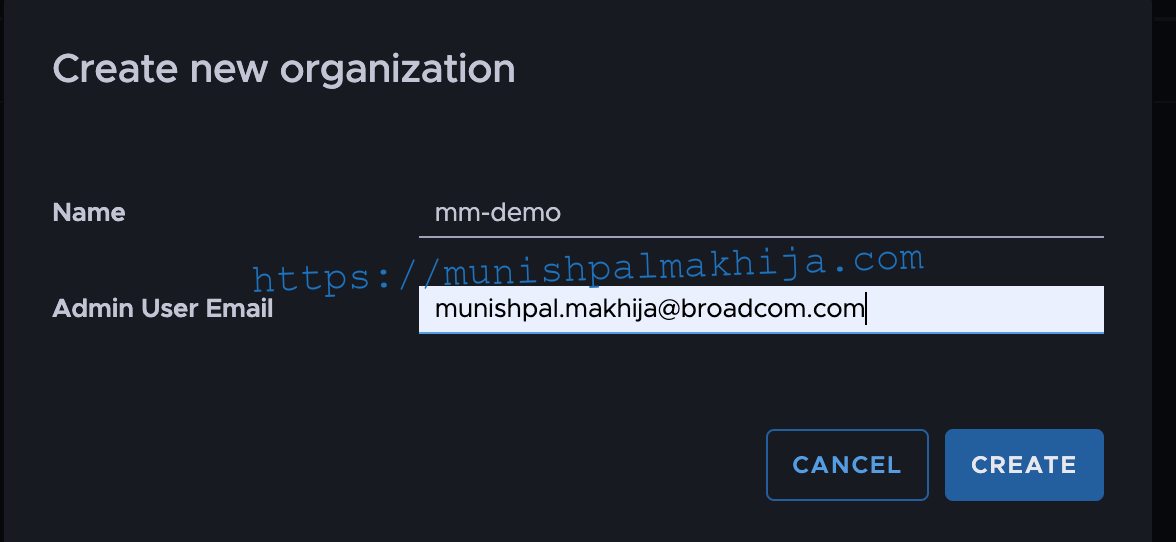
Navigate to Organizations and click Create New Organization

Specify the Org Name & the Org Admin email and click Create
Once the Org is created Org Admin should receive an email with the invitation link.


If you want to continue using the SRE user to create the Database, then refresh the Browser or sign out & sign in for the new Org to be visible.
Click on the drop-down in the top right under SRE User and navigate to the newly created Org
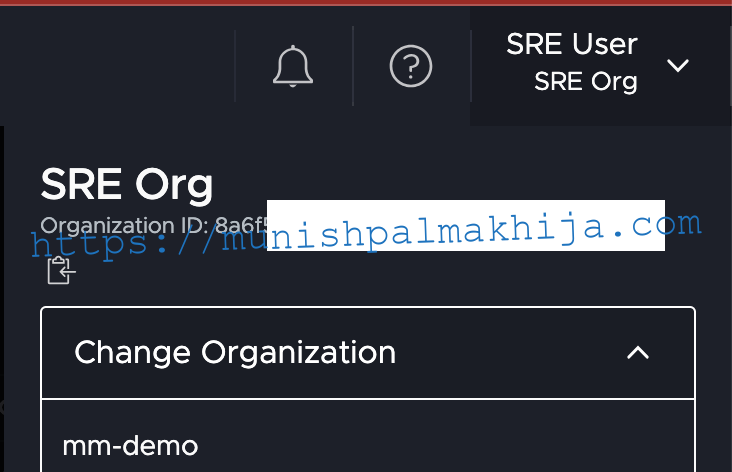
Now we are in the context of the newly created org as an SRE User, where we can provision supported Data Services
Next, I will describe multiple ways to provision a PostgreSQL Database
UI Procedure
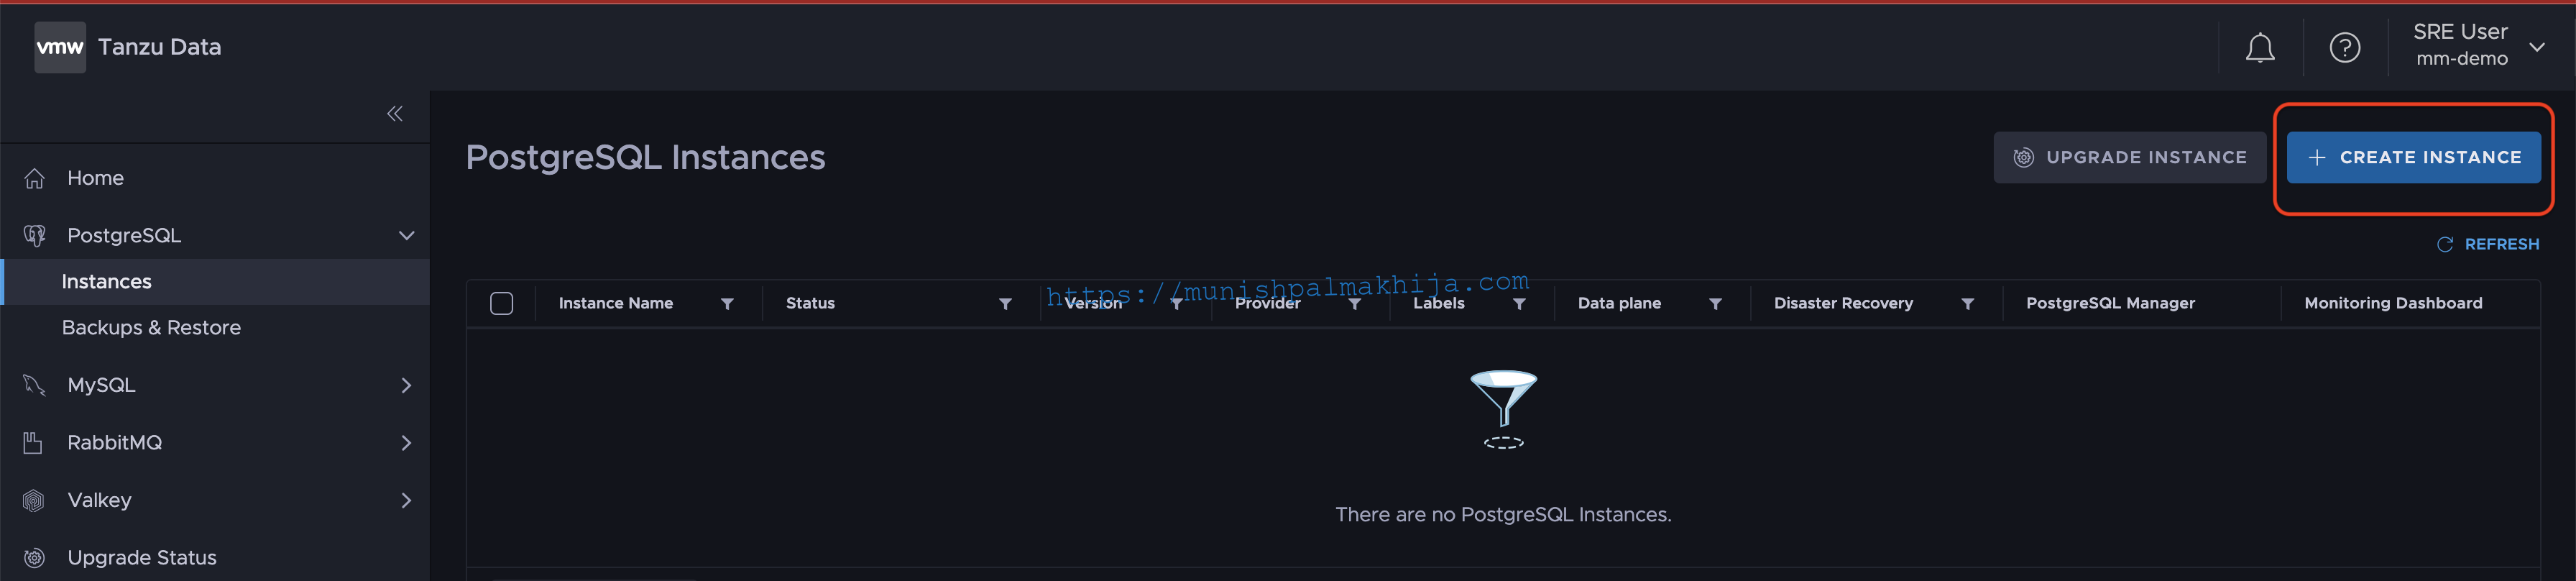
Navigate to PostgreSQL –> Instances & Click Create Instance
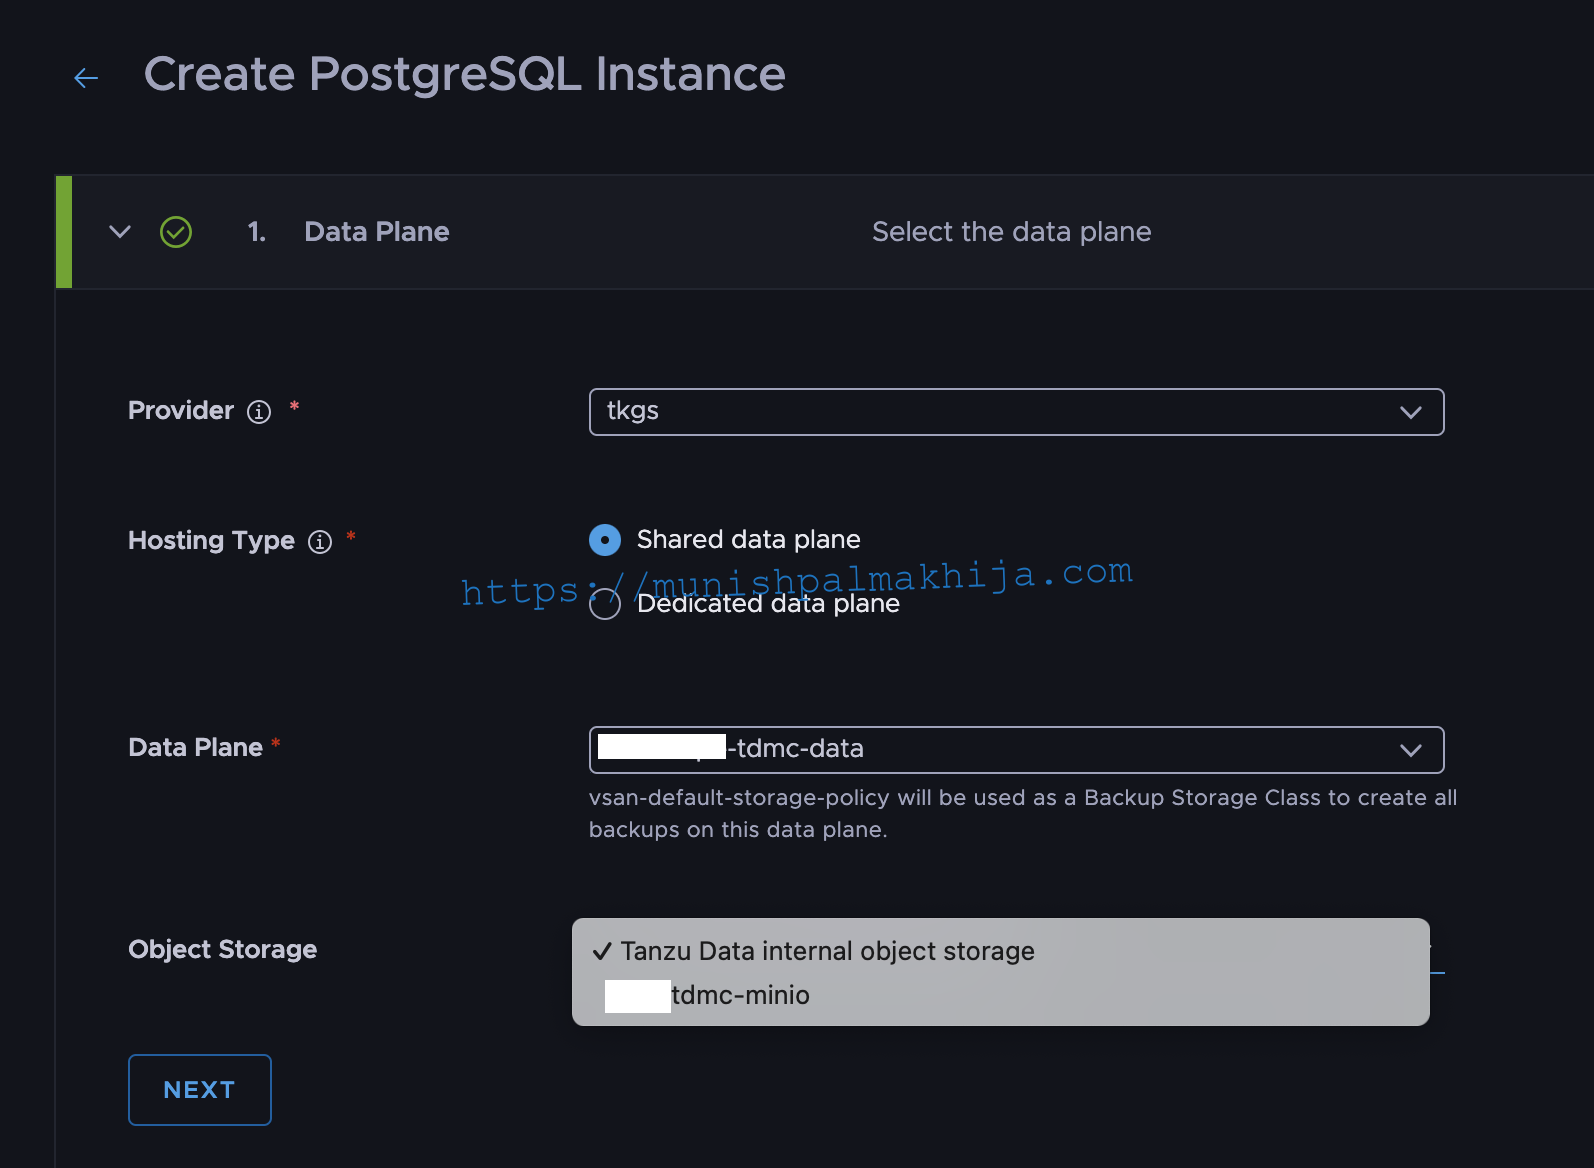
Step 1 – Select the Dataplane and Object Storage
- Provider – Select the Provider. In my case, I am using TKG,s a.k.a VKS provider
- Dataplane – I added the TKGs workload Cluster as a Shared Dataplane. Depending on how you added Dataplane, you should select Hosting Type.
- Object Storage – If you have added an external S3-compliant store, then it should show up. For demo, I will be using the default object store (SeaweedFS); however, for Demo I have added an external MinIO instance
Step 2 – Select Instance (T-Shirt) Size
TDMC provides the following OOTB T-Shirt sizes for specific data services. It is ready-to-use configurations with all the settings DBAs want, including replicas, backup, and other DB configuration policies. However, as an SRE, you can create a Custom T-shirt size.
This gives power to the Customers to provision an instance size based on their requirements

I have created a Custom T-Shirt Size with higher CPU & Memory; however, for demo instance, xx-small instance size
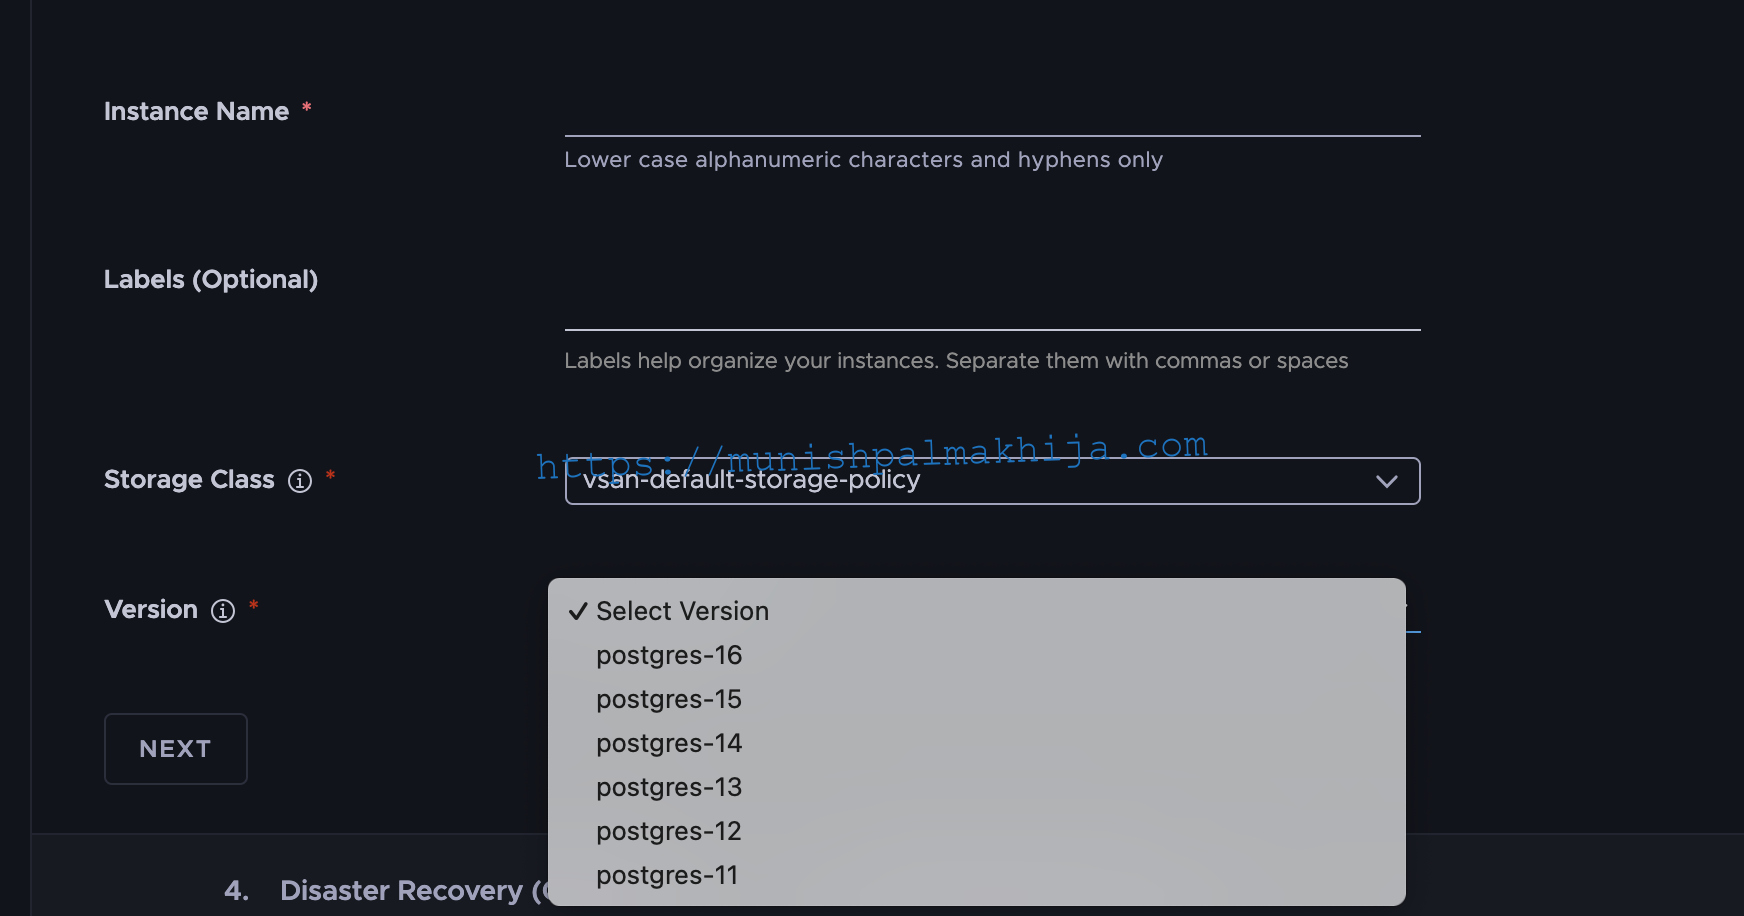
Step 3 – Specify Instance Details
Specify details like Name, Storage Class & Version
- Name – Name of the instance, which will be displayed in TDMC
- Label – It is optional
- Storage Class – It should auto-detect the storage class from the Dataplane K8s Cluster. I will be using the default vsan-default-storage-policy
- Version – I will create version 15
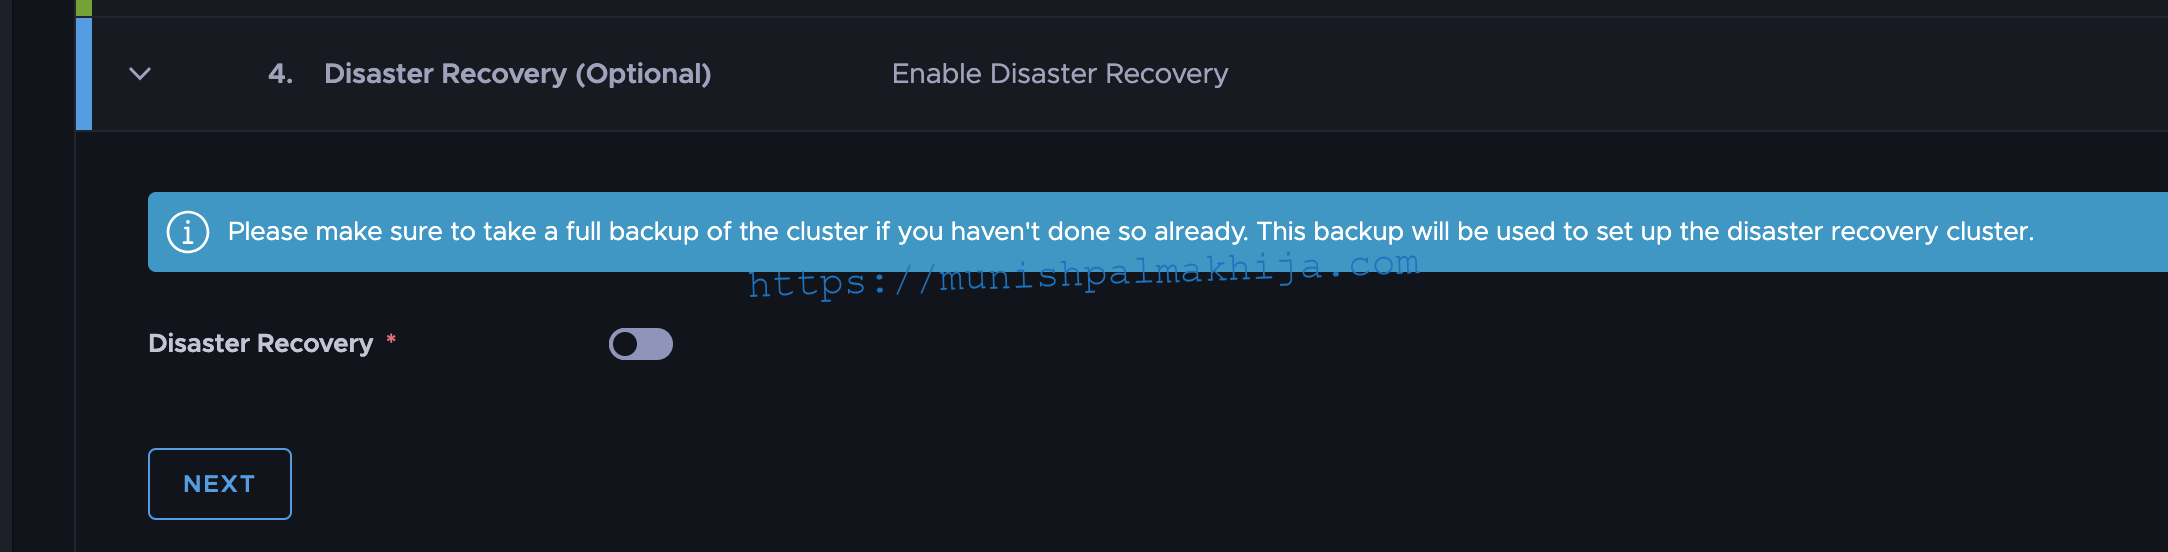
Step 4 – Optional – Enable Disaster Recovery
This is an Optional Step in case you want to enable Disaster Recovery. This is a critical feature that many Customers would be doing for the Production Instances. I will be writing a separate blog for it.
Step 5 – Optional – Enable Postgres Cluster Extensions
PostgreSQL extensions provide a way to extend the functionality of a database by bundling SQL objects into a package and using them as a unit.
This is an Optional Step, which I will not be enabling it for the demo instance

Step 6 – Database Information
Specify Database configuration
- Database Name – Name of the default database, which is created by TDMC
- Username – Username to access the Postgres Instance
- Password – Password to access the Postgres Instance
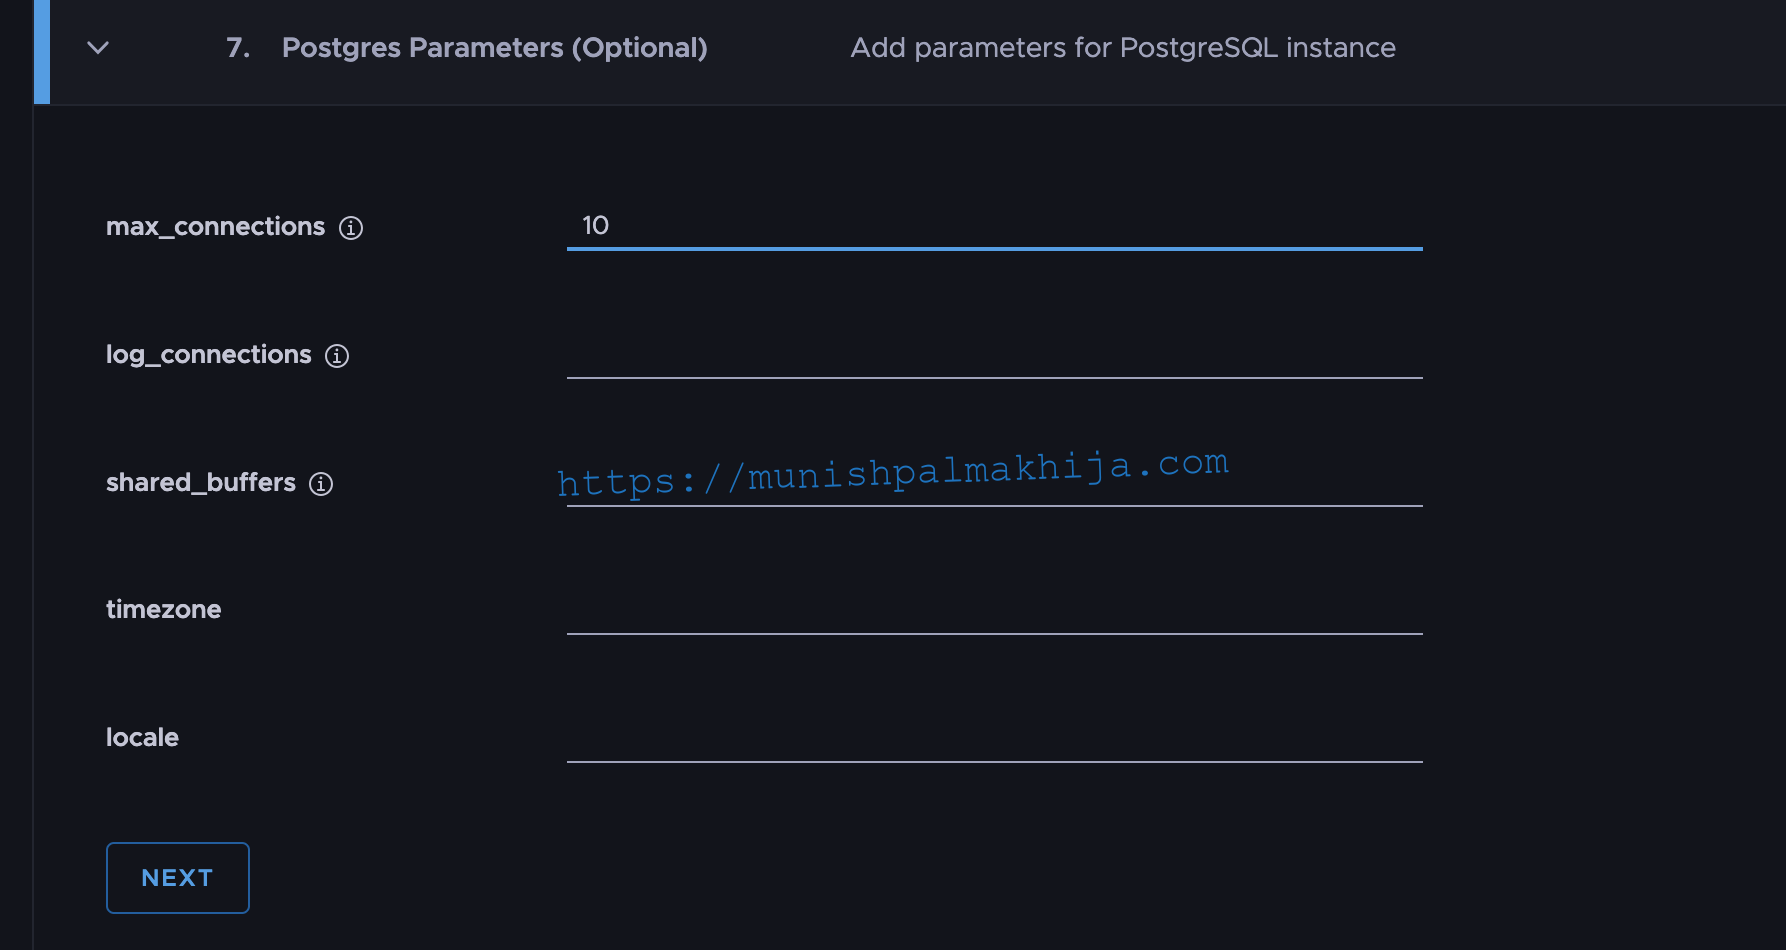
Step 7 – Configure Optional Postgres Parameters
You can configure optional PostgreSQL parameters. You can refer to this doc for more configuration options
Normally, I like to limit the maximum number of connections to avoid any performance impact
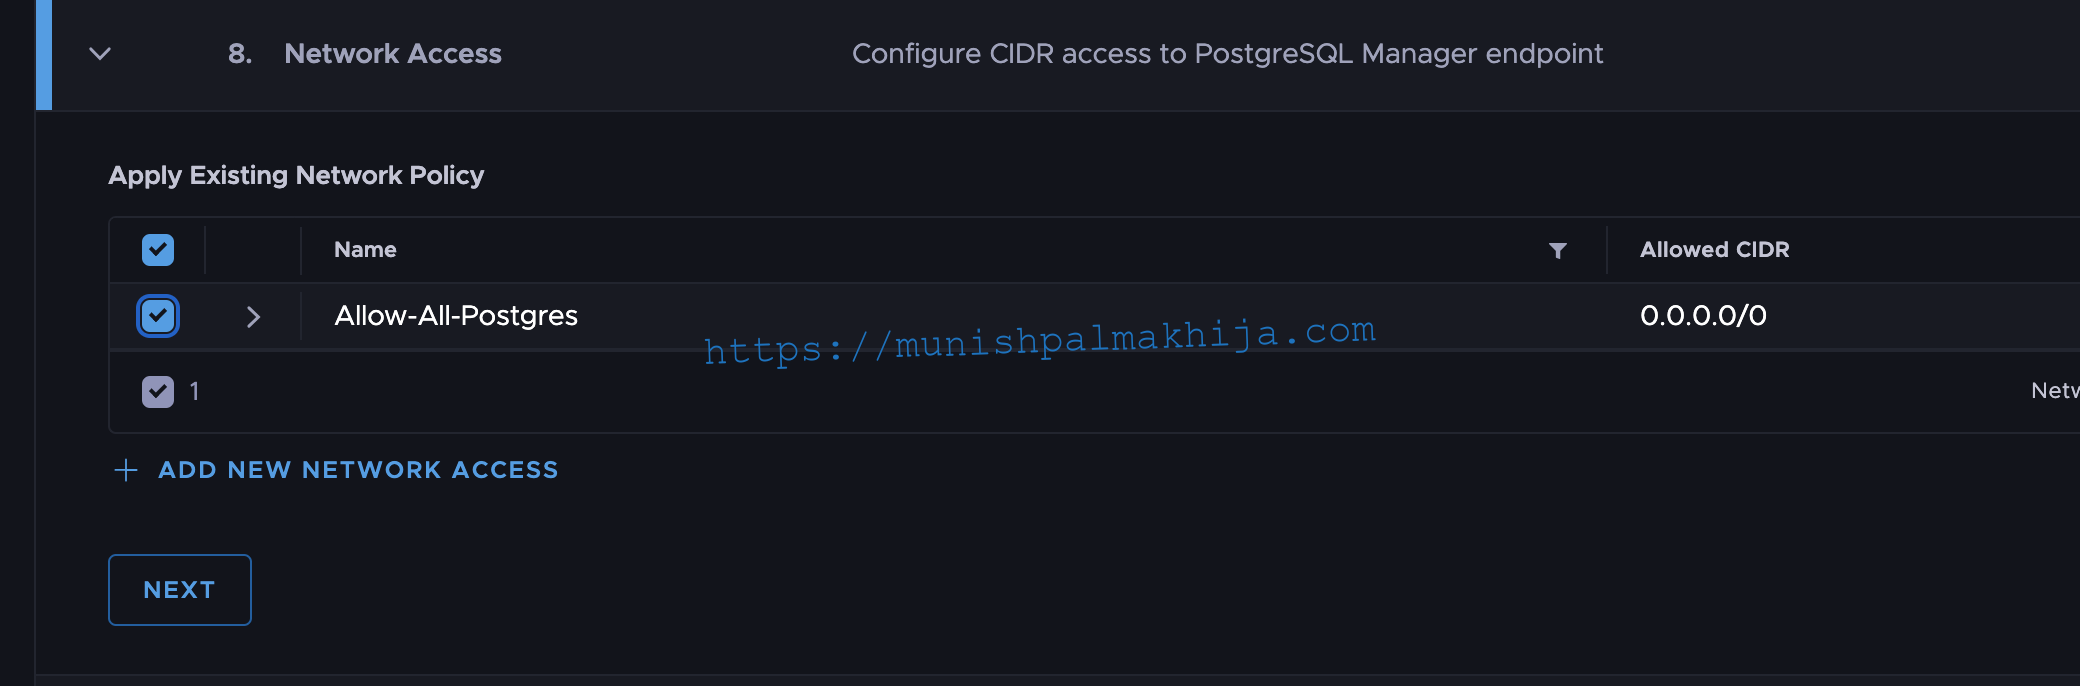
Step 8 – Configure Network Policy
TDMC allows you to control where the Postgres instances are accessible from. This can be quite useful from a security perspective.
To create a new Network Policy, click on Add New Network Access
You can configure granular policies for various use cases. E.g., You can specify the IP/CIDR of the app VM/Cluster and only allow port 5432 and You can specify the IP/CIDR Monitoring system to fetch Metrics from the TDMC platform.
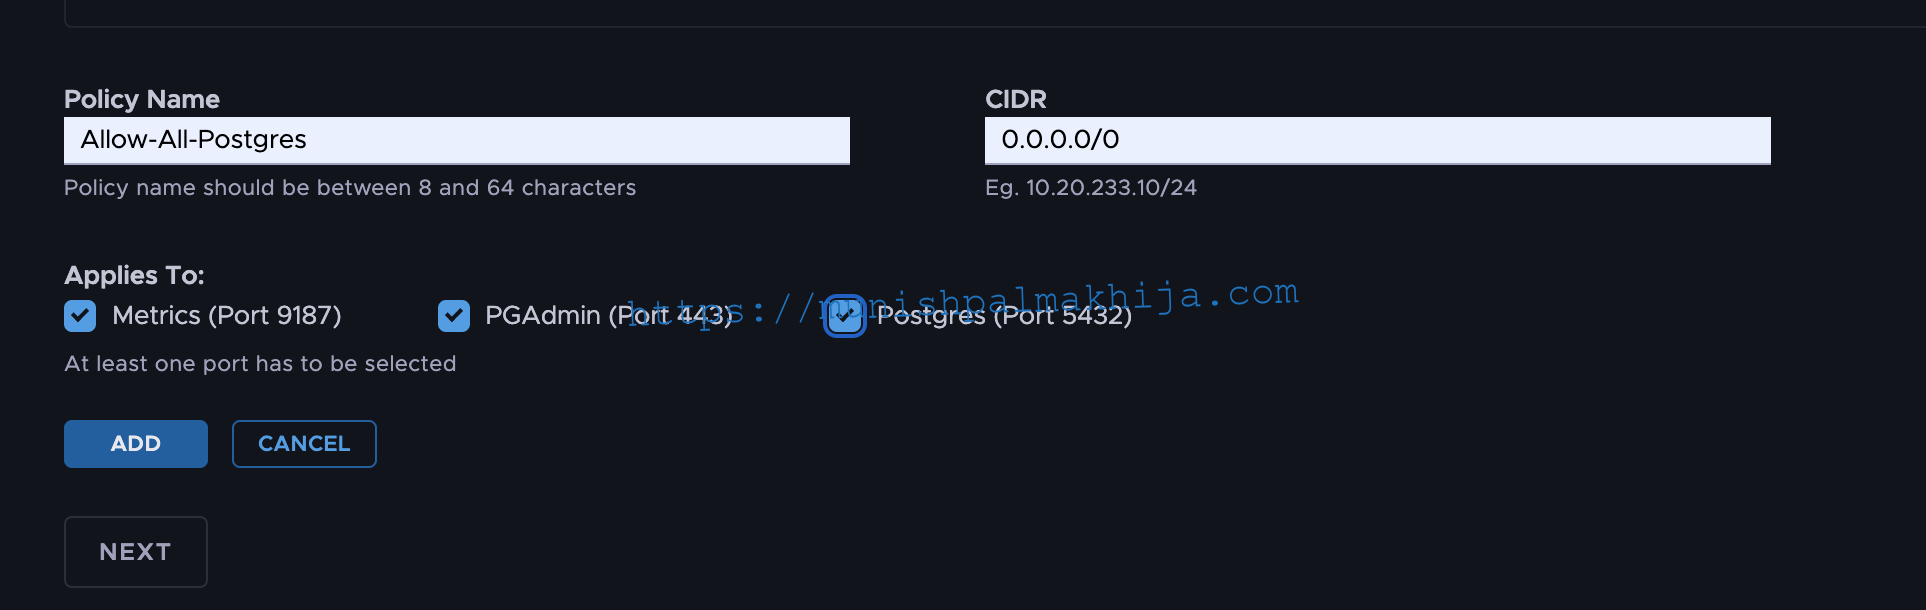
For the demo instance I will allow from anywhere
Step 9 – Optional – Configure LDAP
Optionally, you can set up an LDAP integration with the PostgreSQL instance. Users from the specified LDAP subtree will be automatically synced as PostgreSQL roles with “LOGIN” and “CONNECT” attributes to the database instance.
For the demo instance I will not be enabling ldap integration

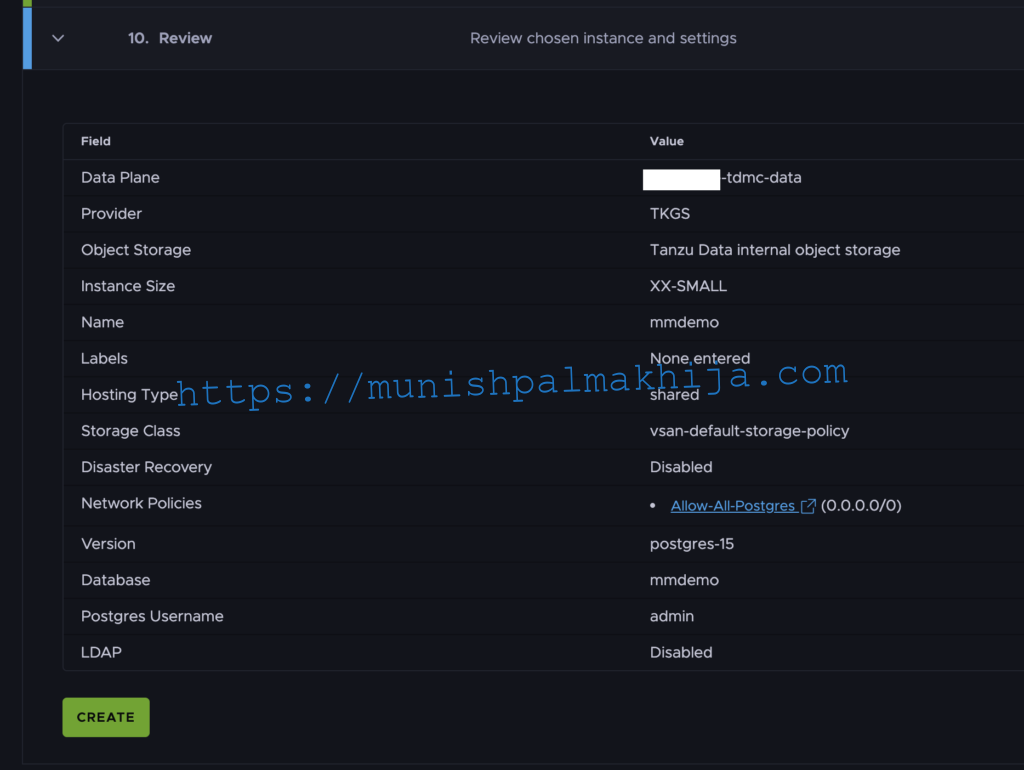
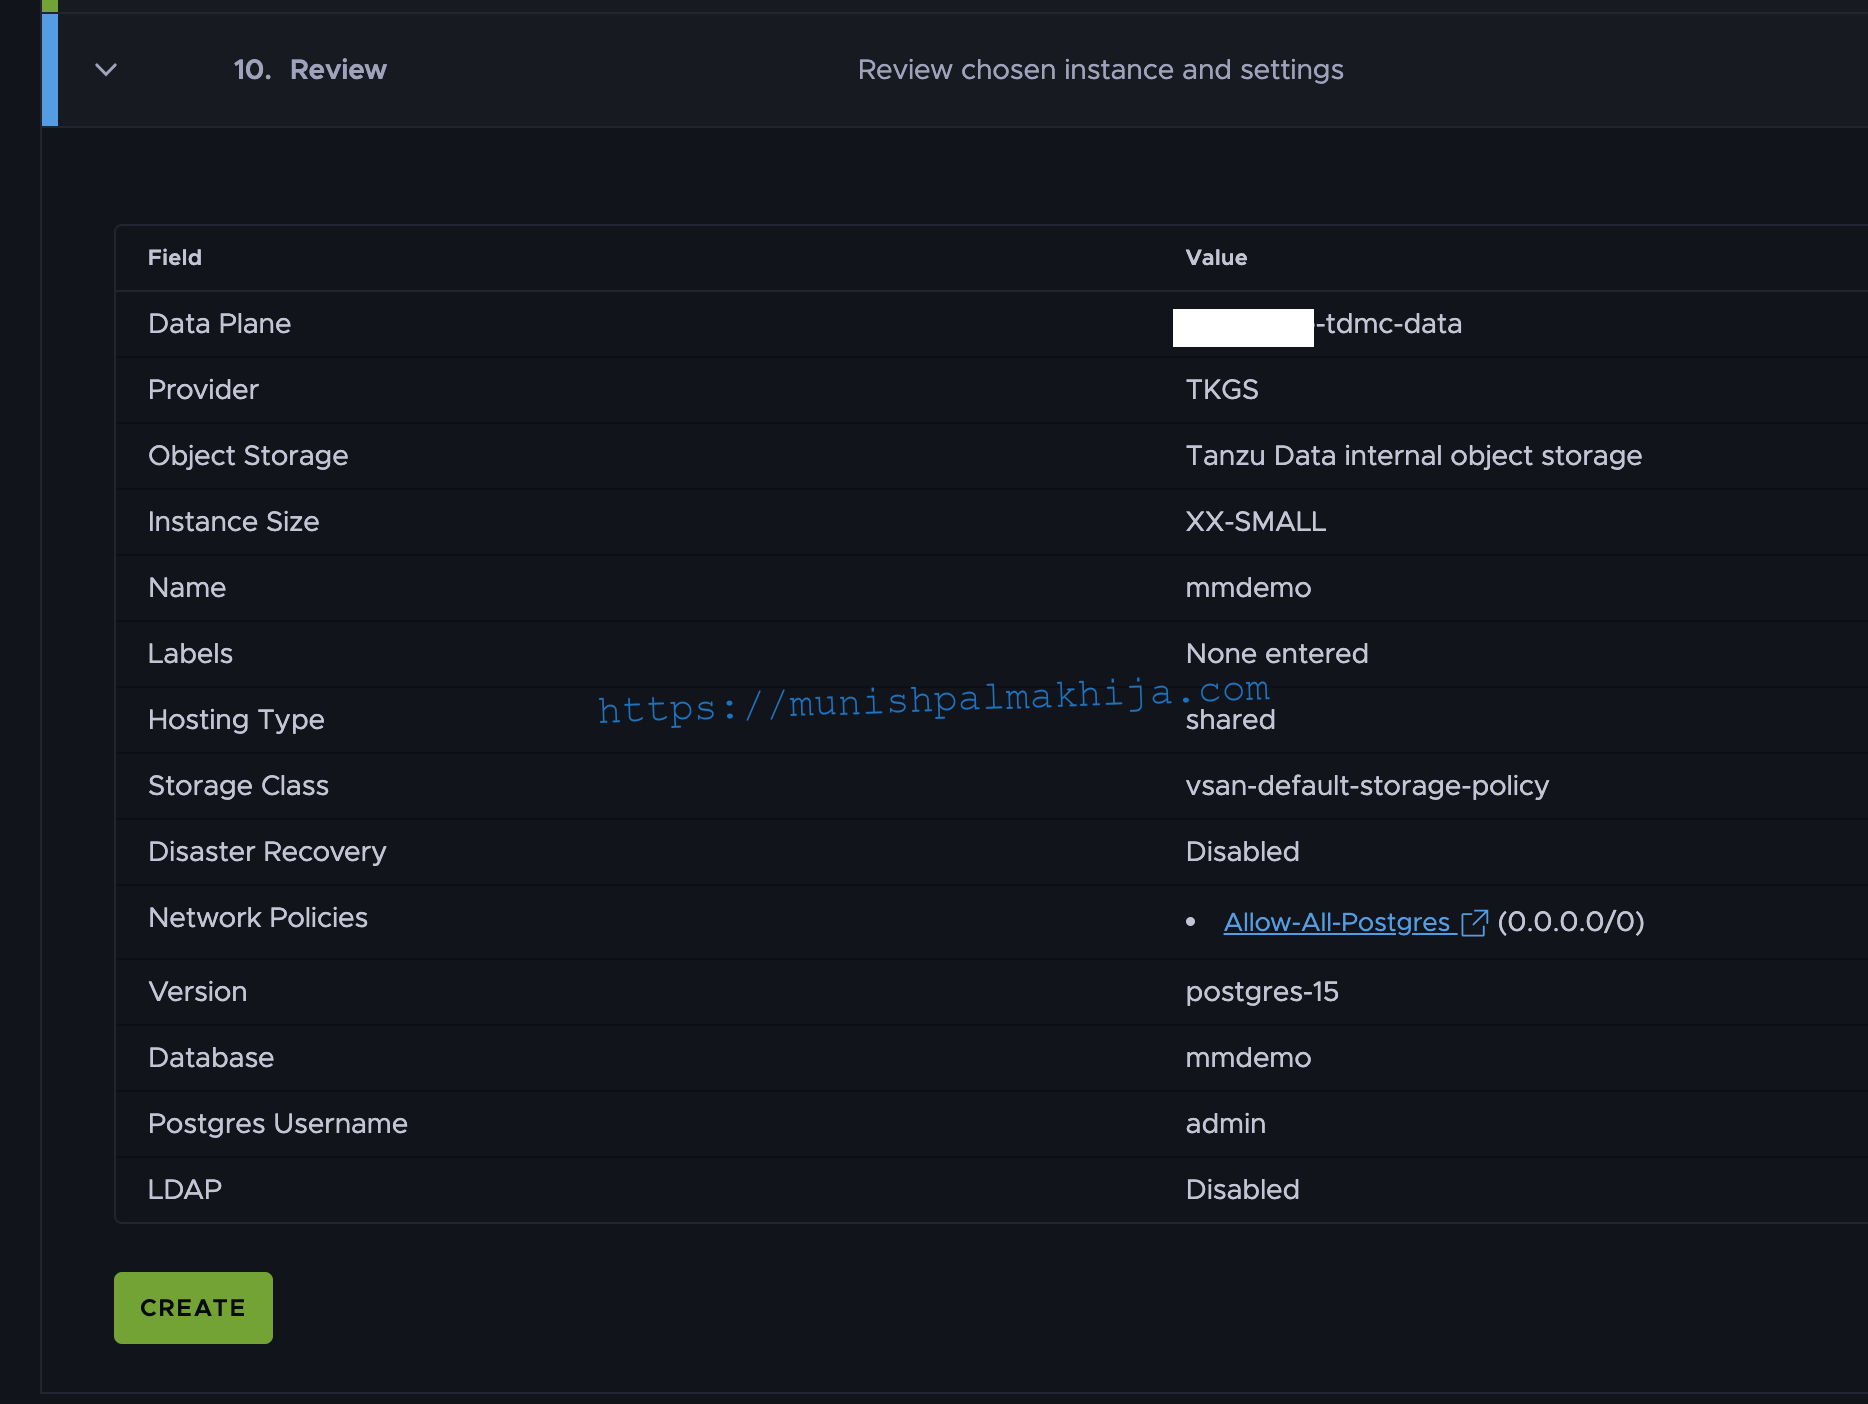
Step 10 – Review and Provision
You can do a final review of the config and click on Create to start provisioning of the Database Instance
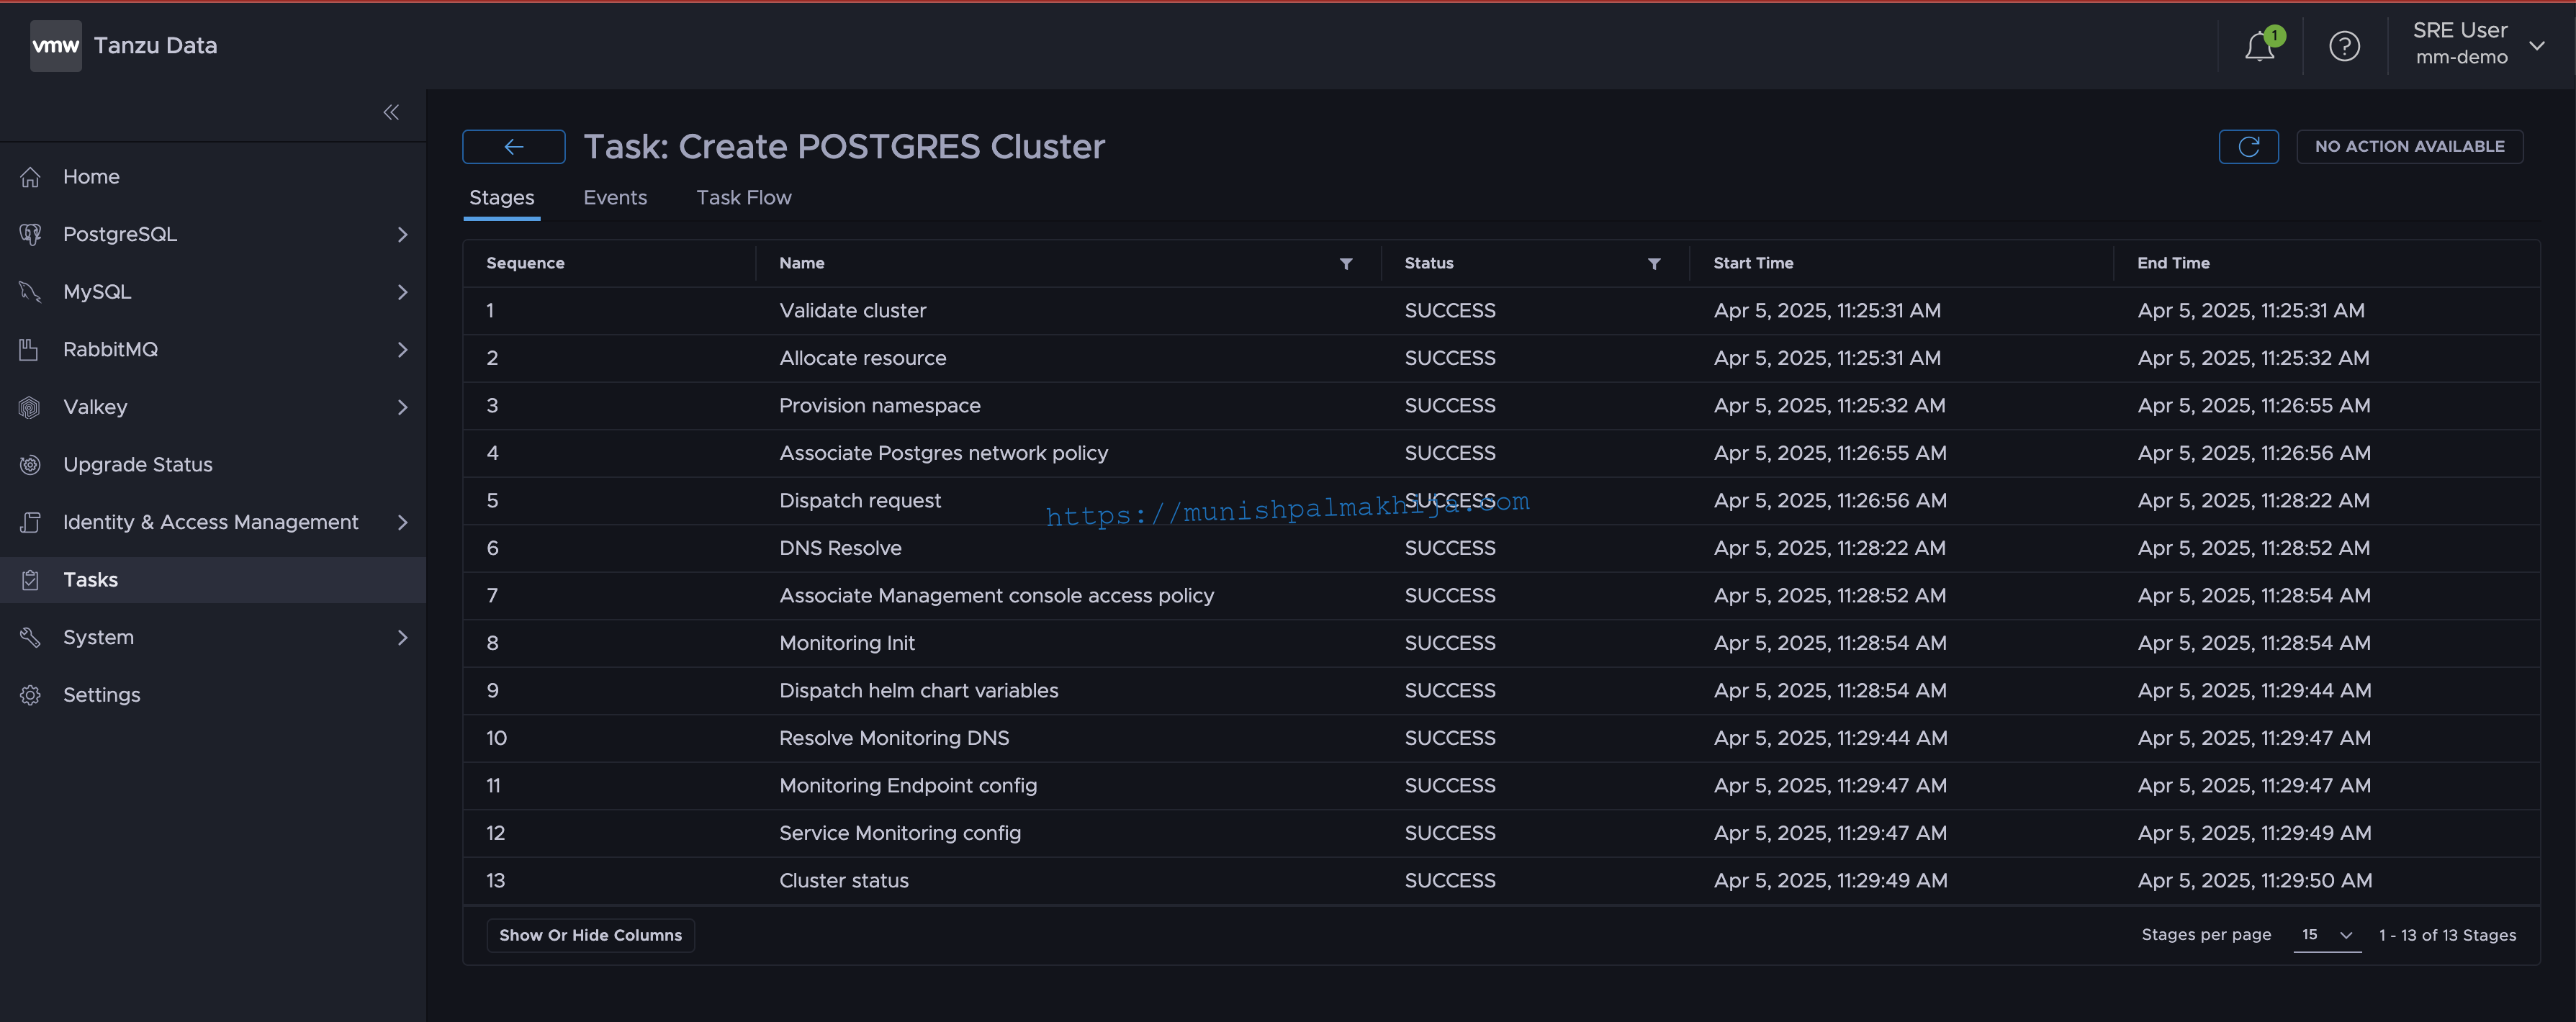
Monitor the Postgres Provisioning
You can navigate to Tasks and view the status of the Postgres Cluster creation
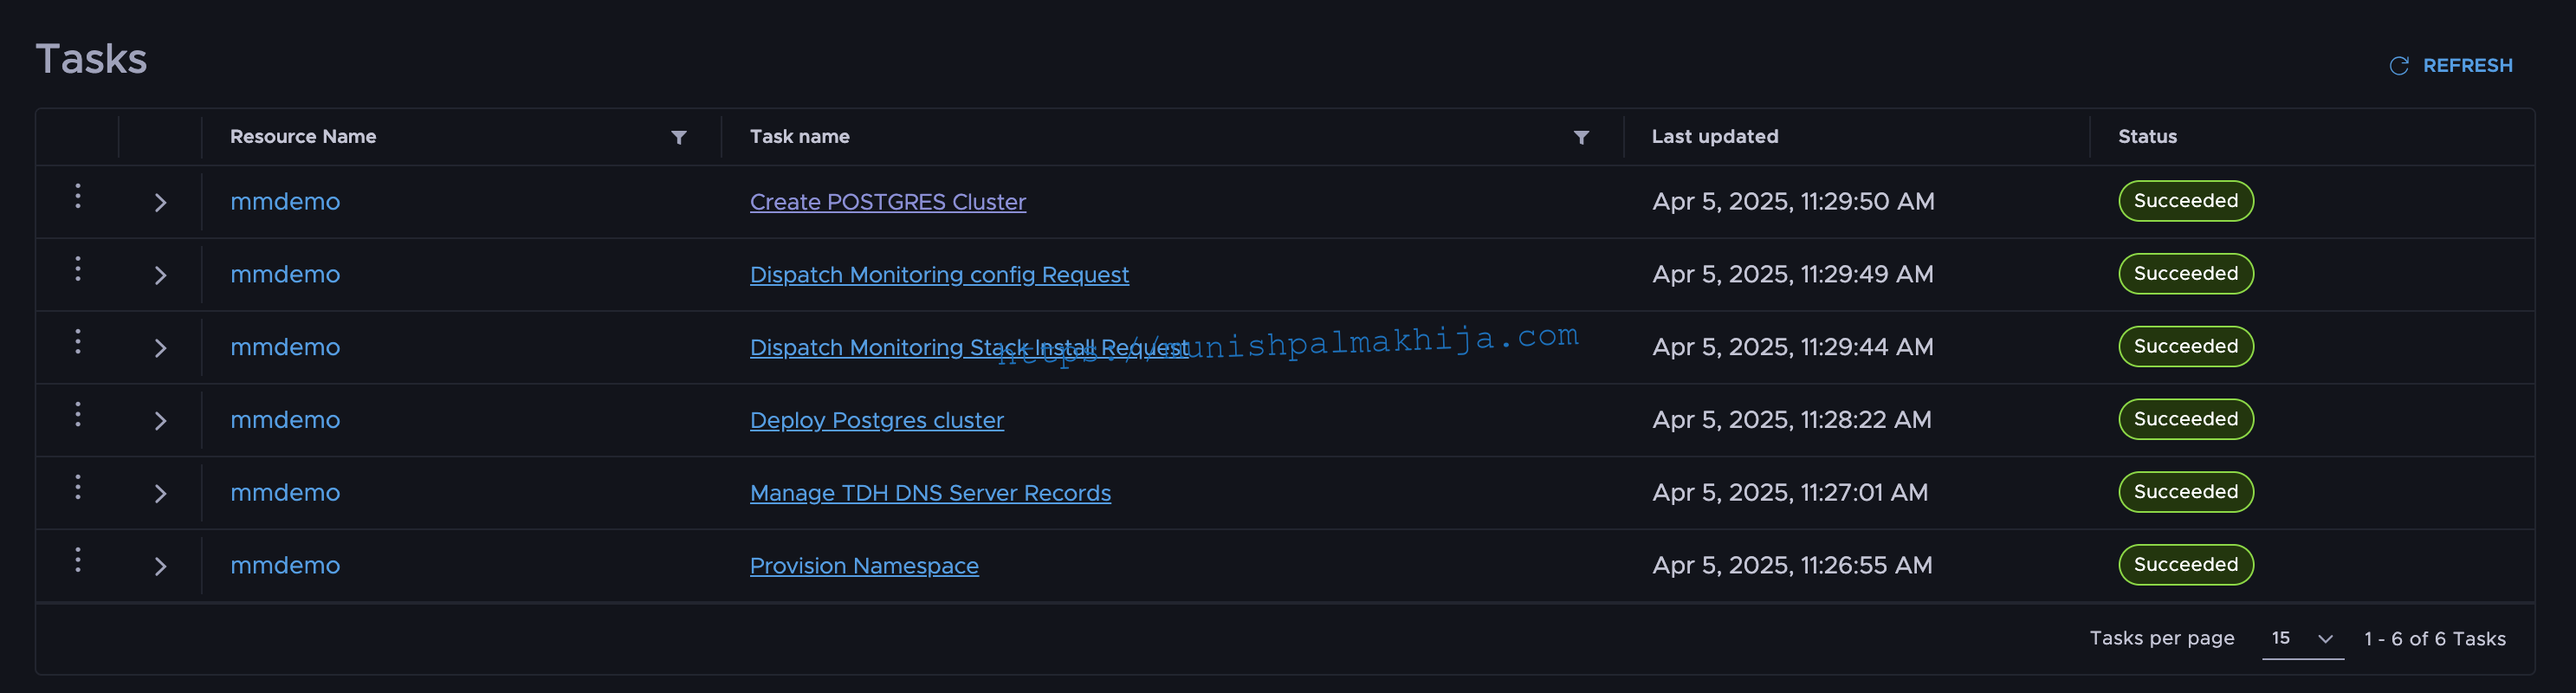
At a high level, it performs the following Tasks
- Create a Namespace on the K8s Cluster
- This is only triggered for the first data service instance provisioned in the Org (mm-demo))
- Configure DNS Records
- As mentioned in my installation guide, TDMC deploys its own DNS Server(bind) hence it updates the records for the new instance provisioned
- Deploy Postgres Cluster in the namespace
- Deploy & Configure Monitoring Stack
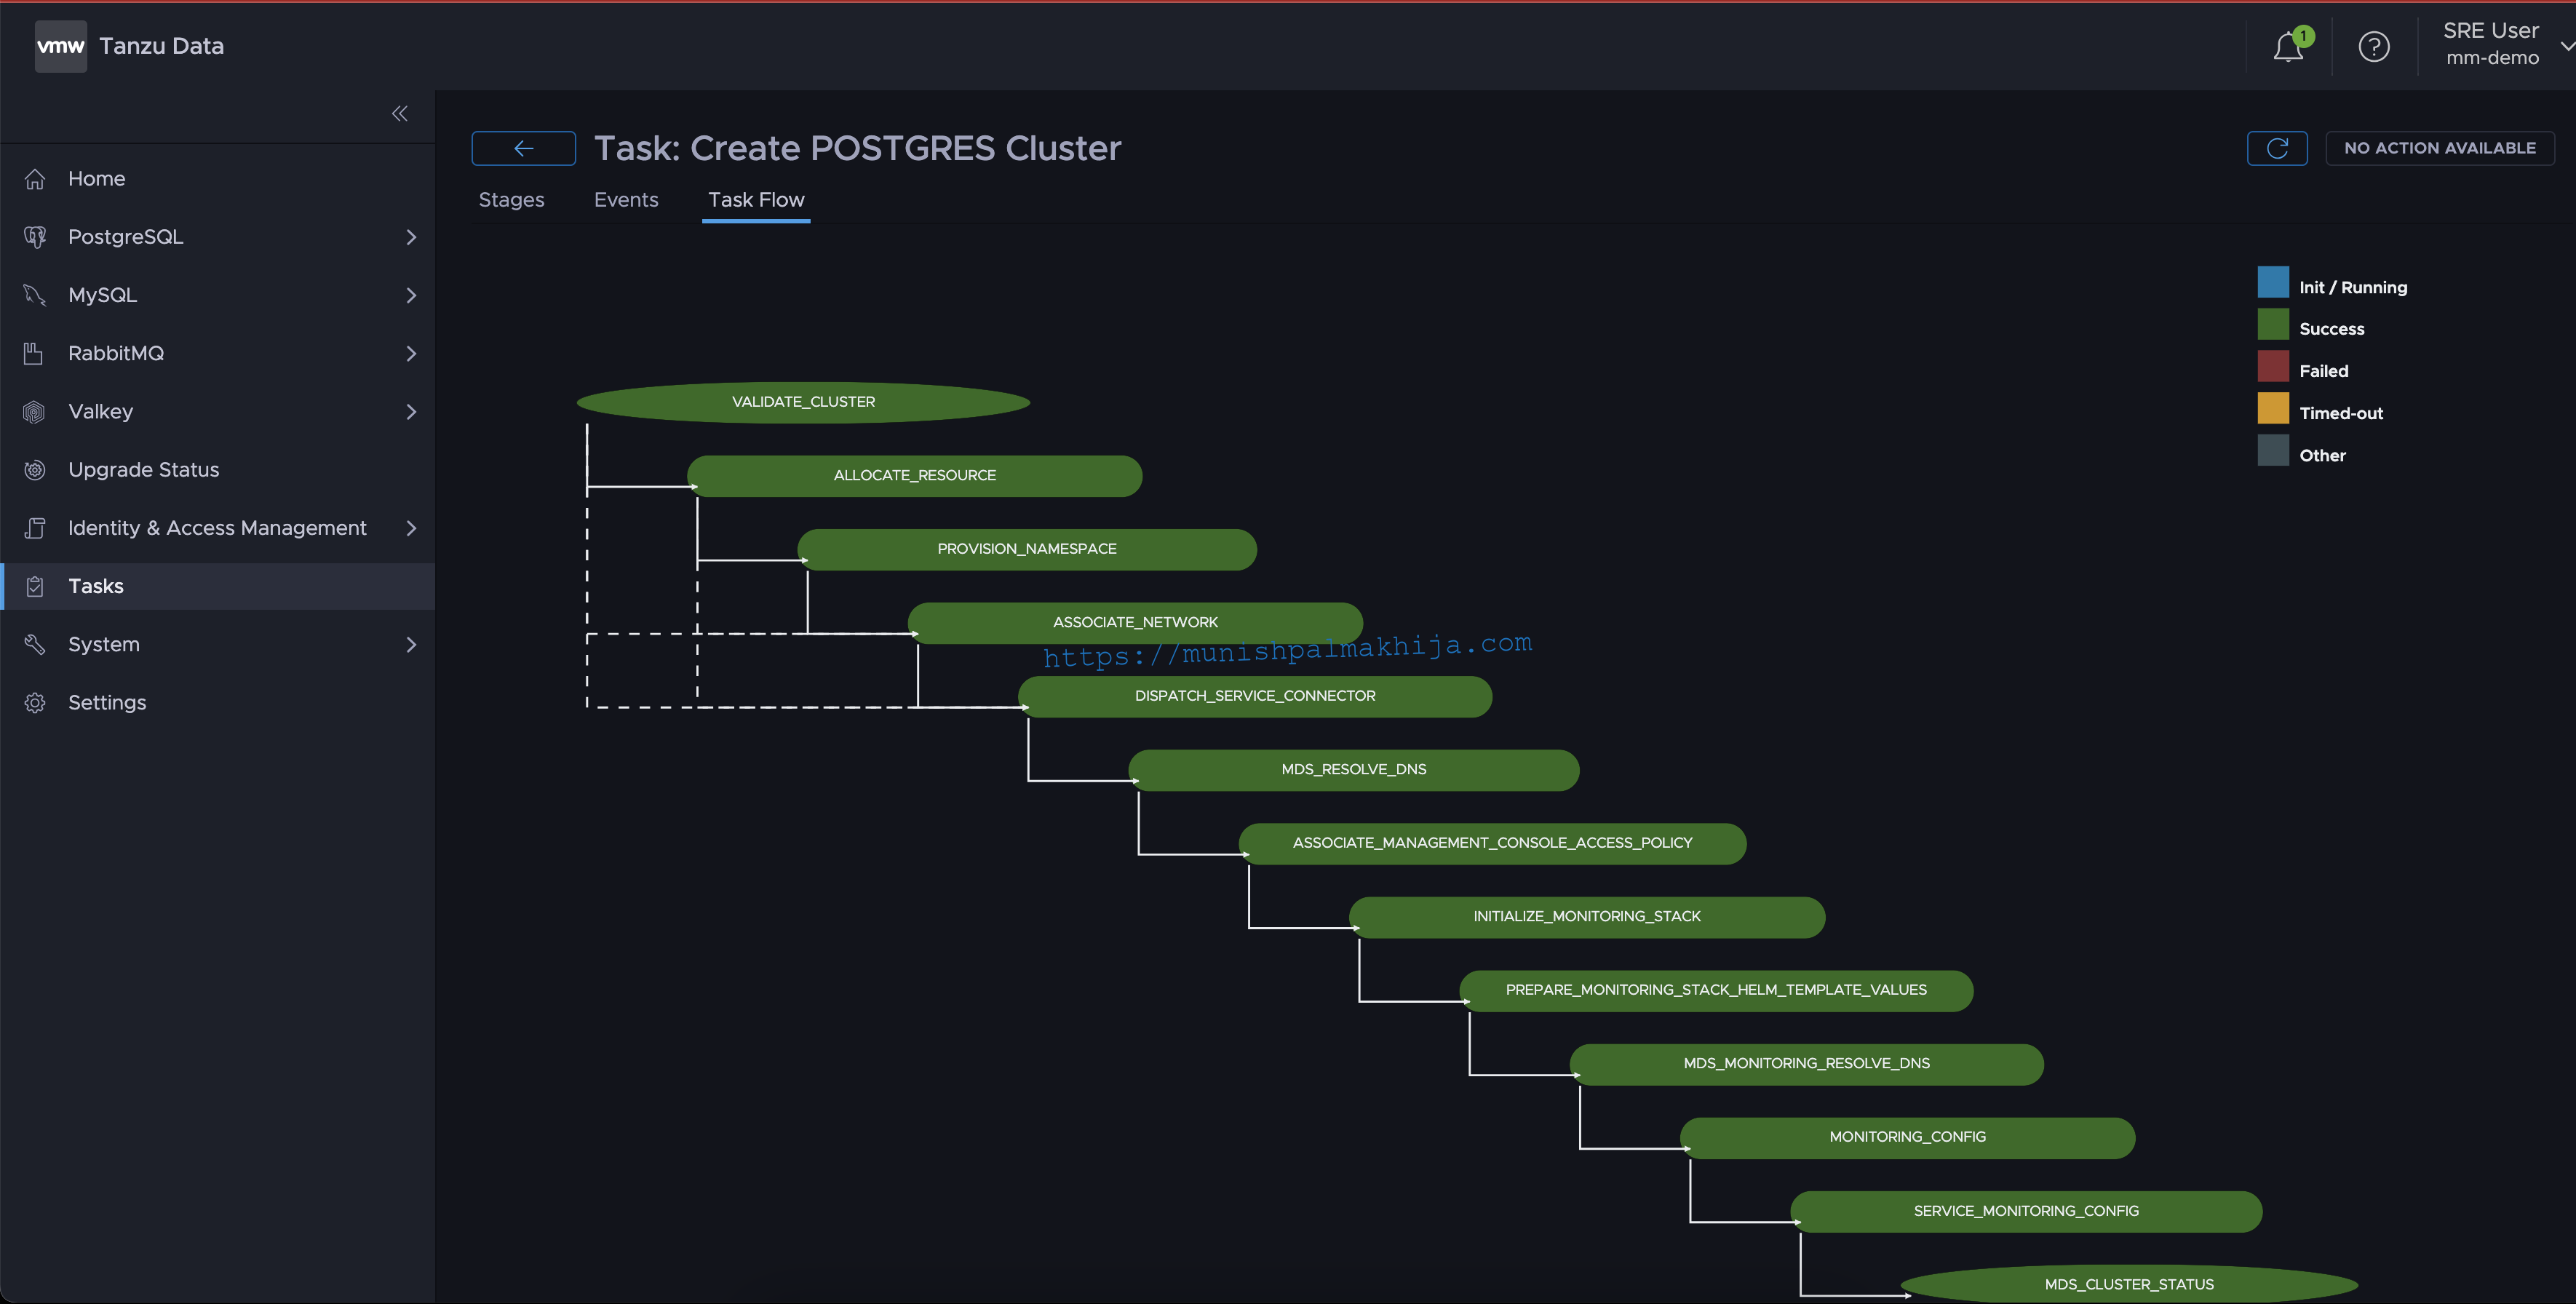
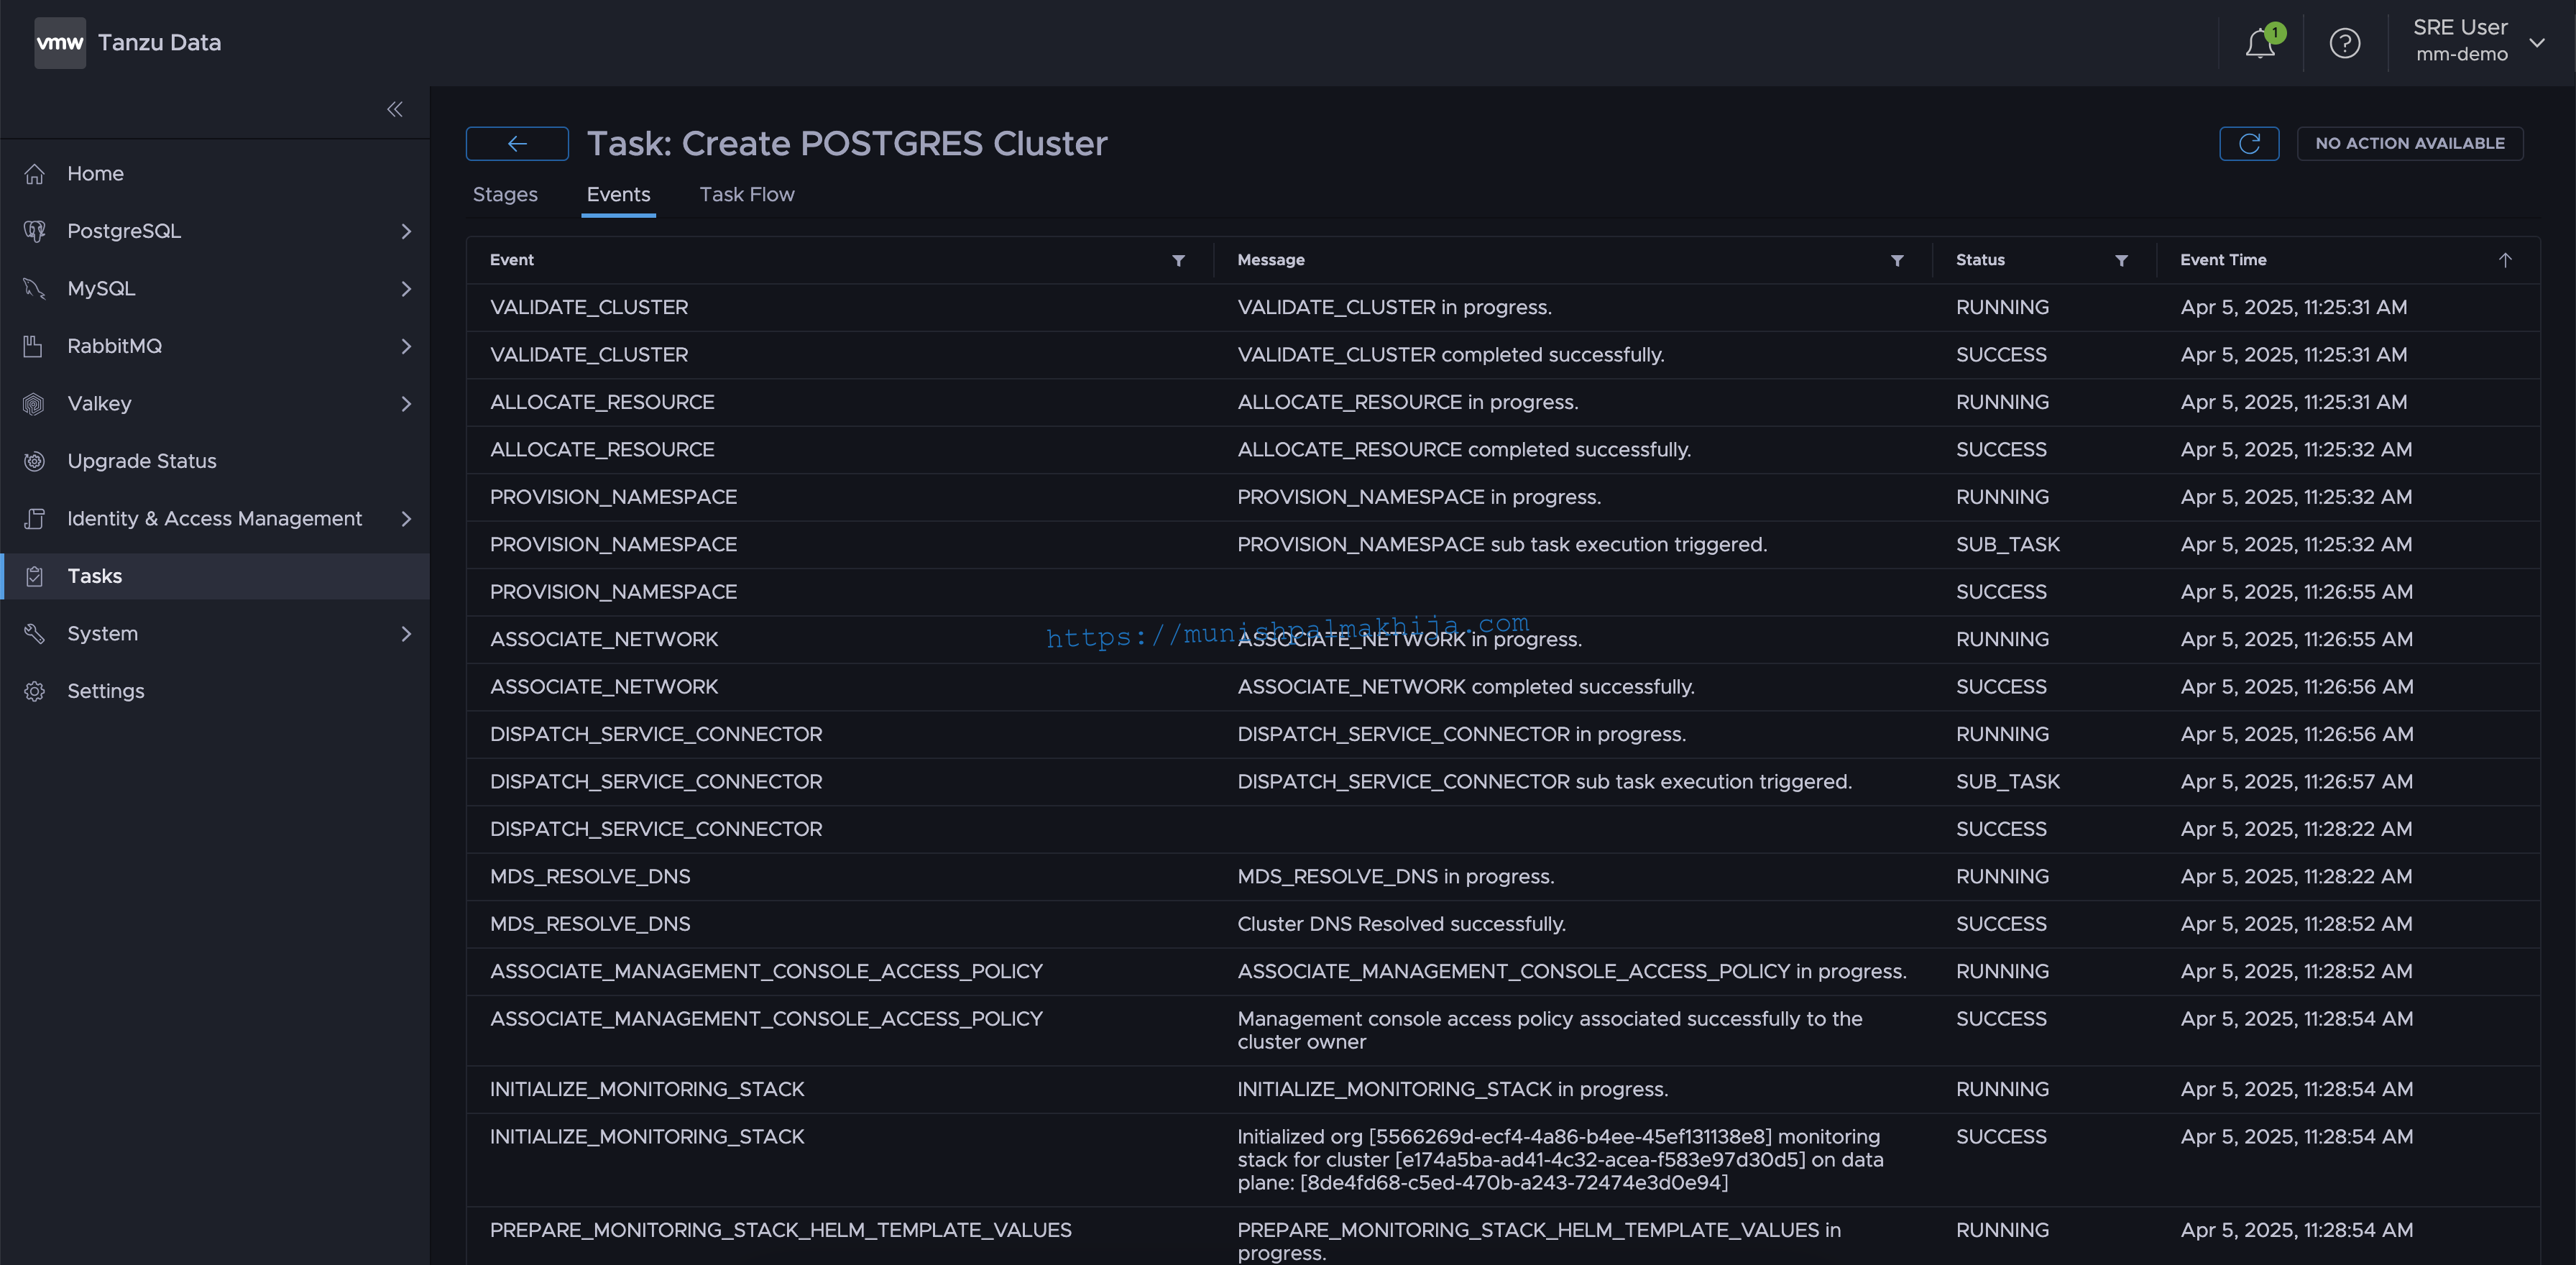
It should take approximately 5-10 minutes to deploy the Postgres Cluster successfully.
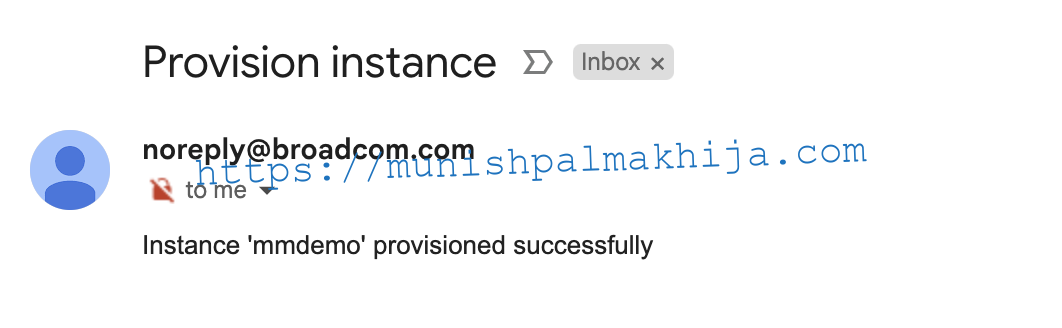
Once provisioned, you will get an email notification as well
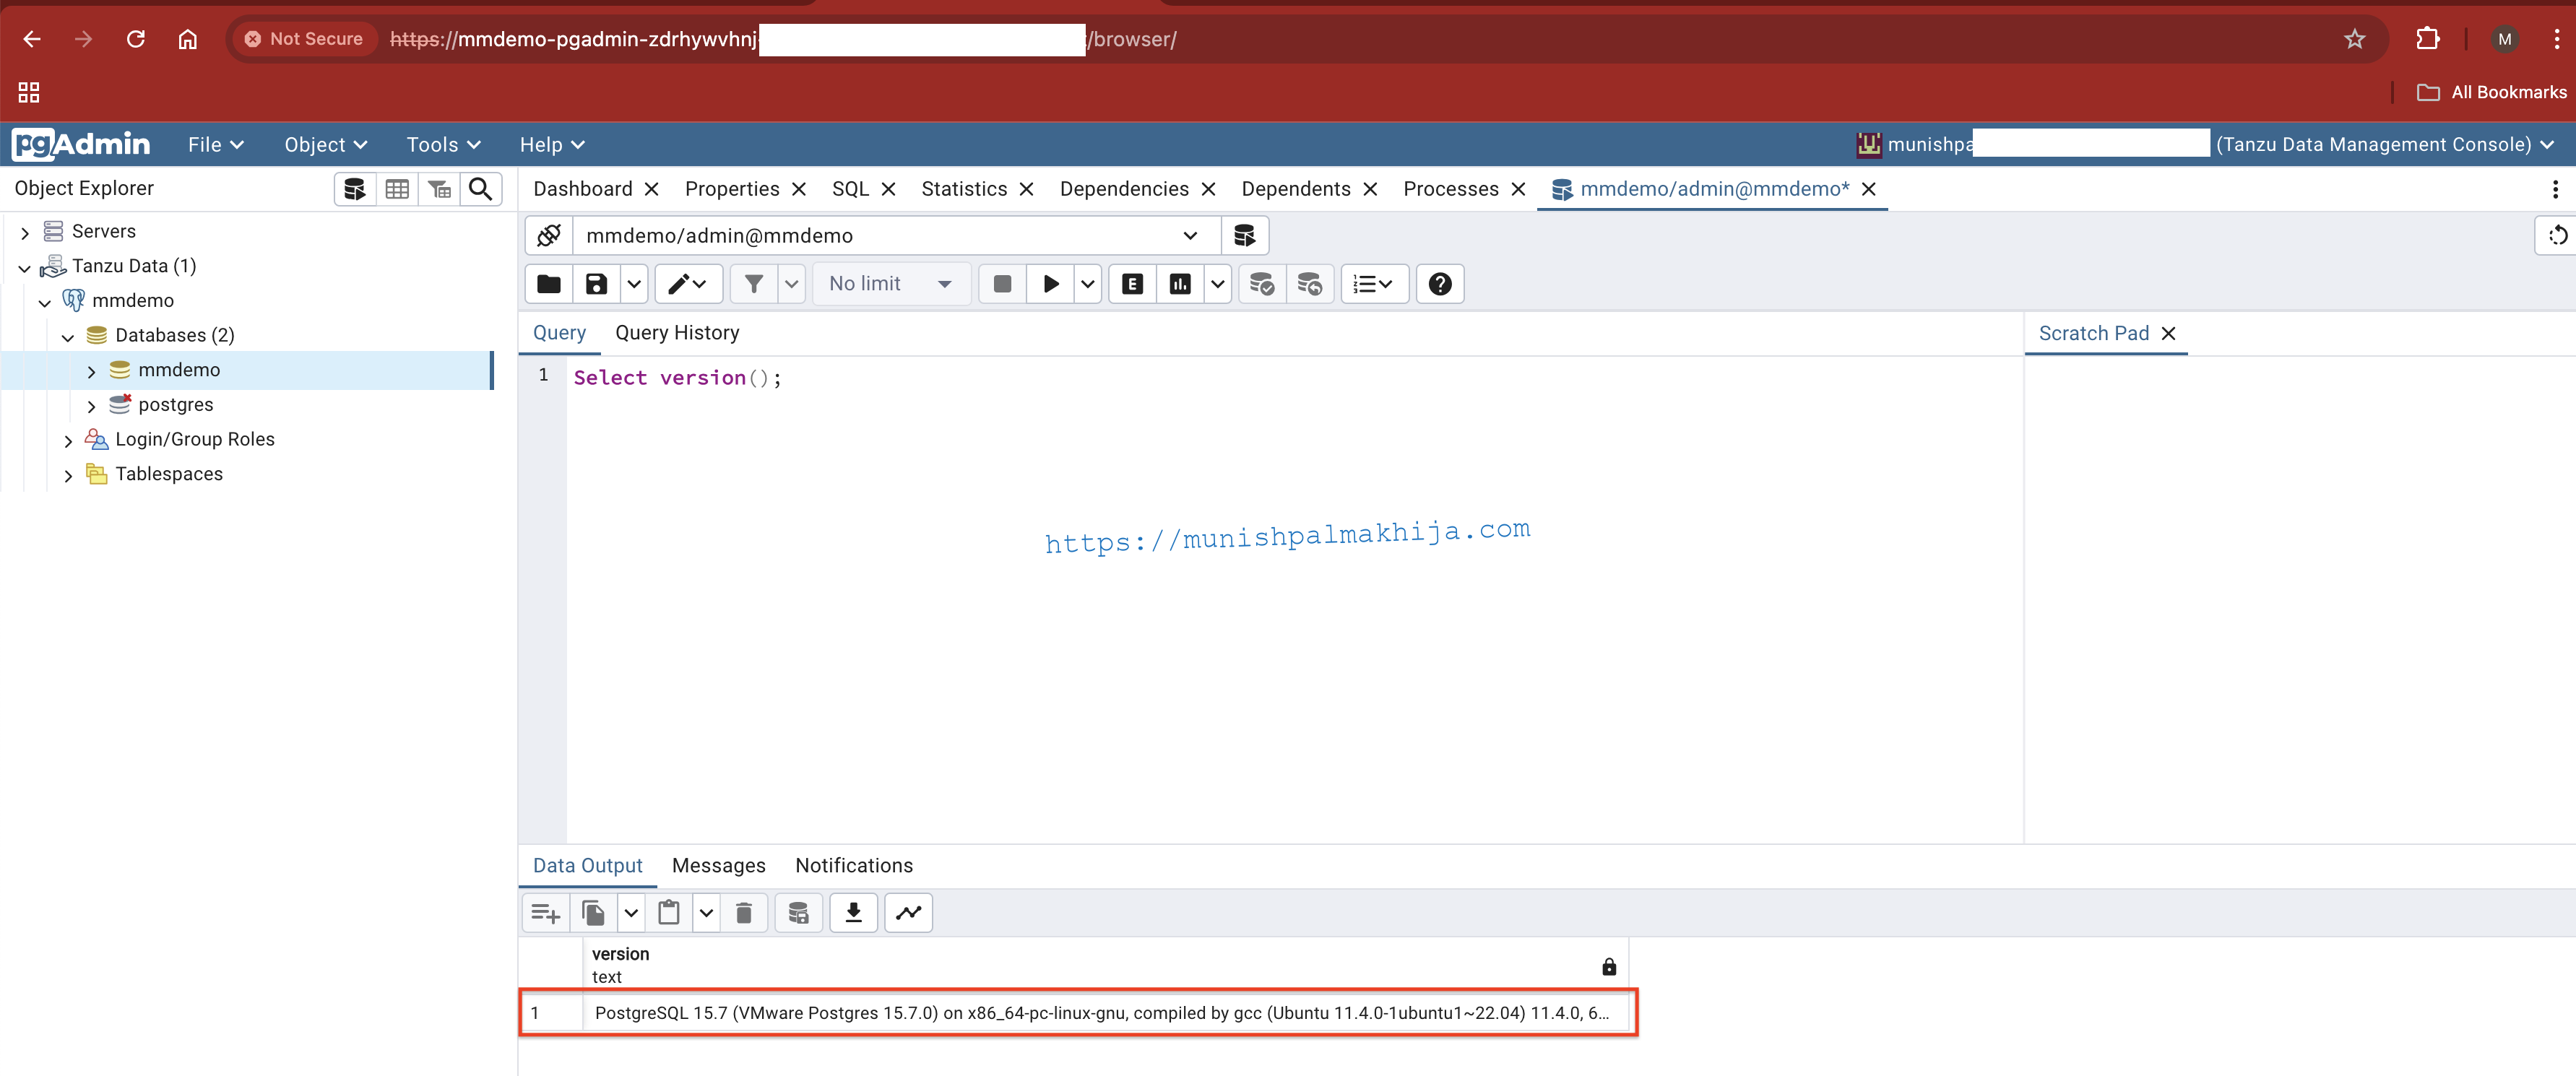
TDMC provisions following the tools
- PostgreSQL Manager – Web-based PgAdmin. It can be accessed by clicking the Management UI option under PostgreSQL Manager
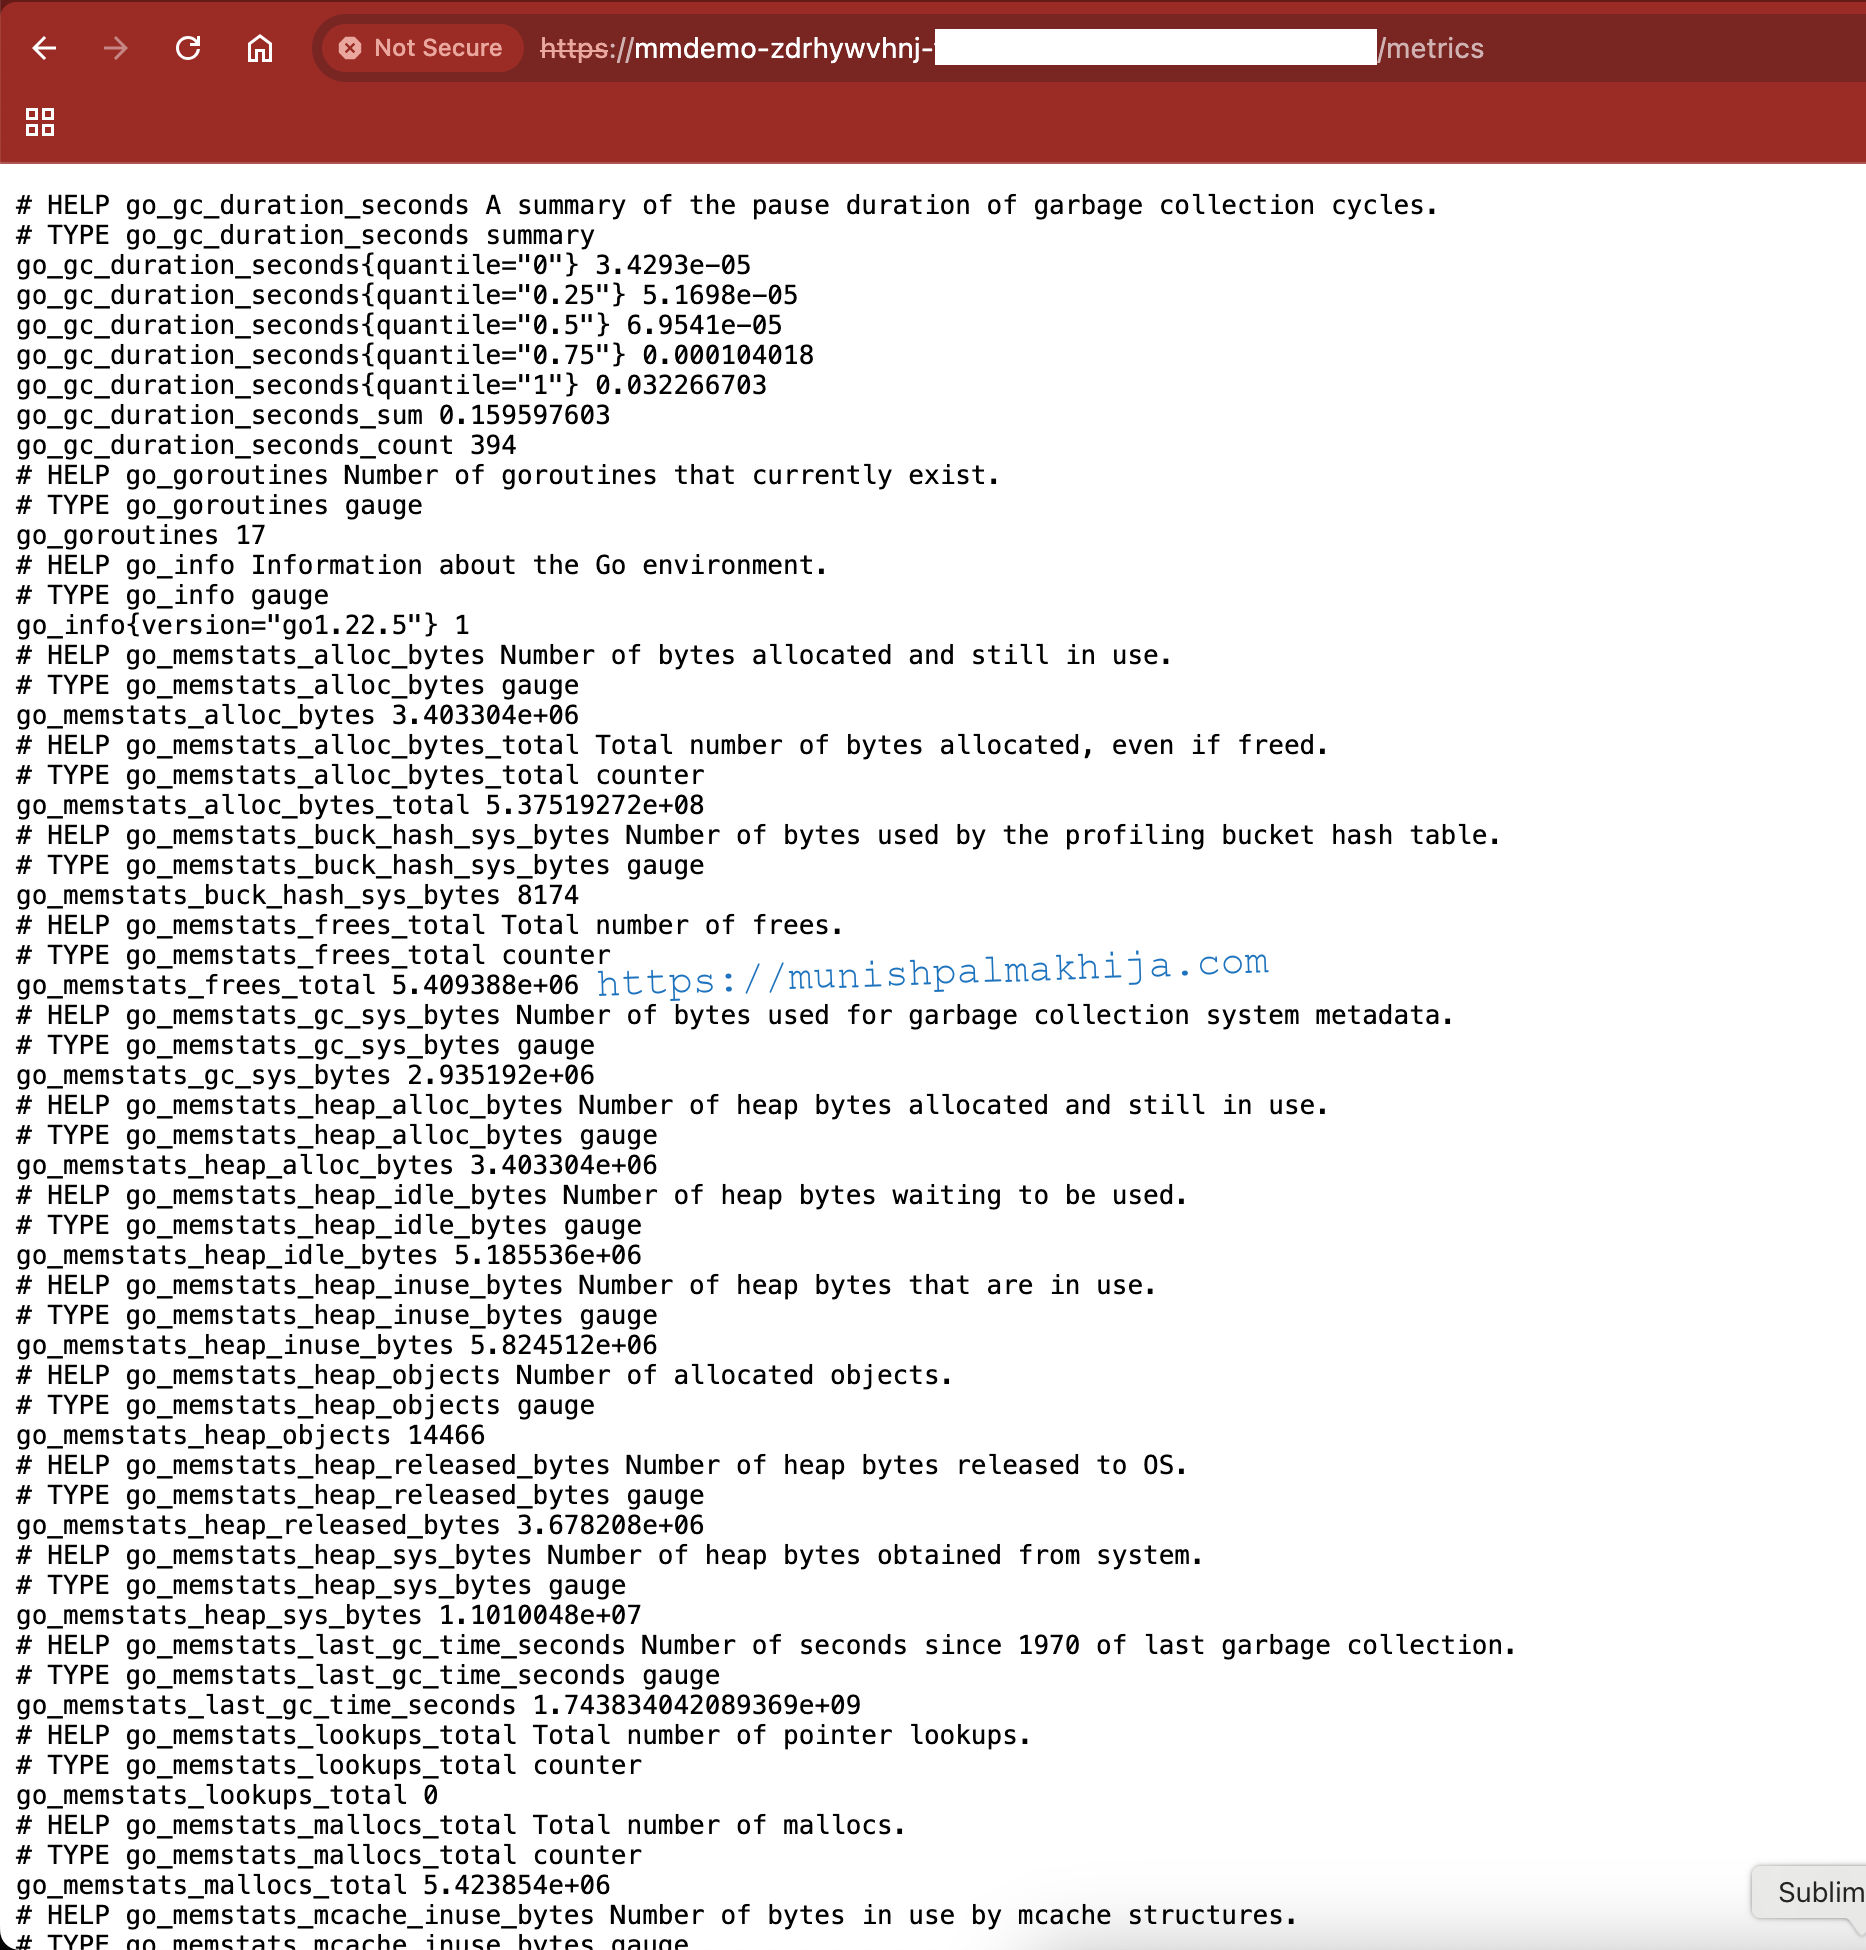
- Prometheus – Metrics can be accessed <host-name>\metrics path
- Grafana – Grafana Instance with a Dashboard to visualize metrics. It can be accessed by clicking the View option under the Monitoring Dashboard


Kubernetes Resources Created by TDMC
Let’s walk through some of the K8s resources created
- namespace
- ns-observer-service deployment – To ensure the namespace is monitored and it is not deleted accidentally
- velero deployment – This is for backup & restore functionality of postgres instances/volumes
- pgadmin deployment – Web-based PgAdmin
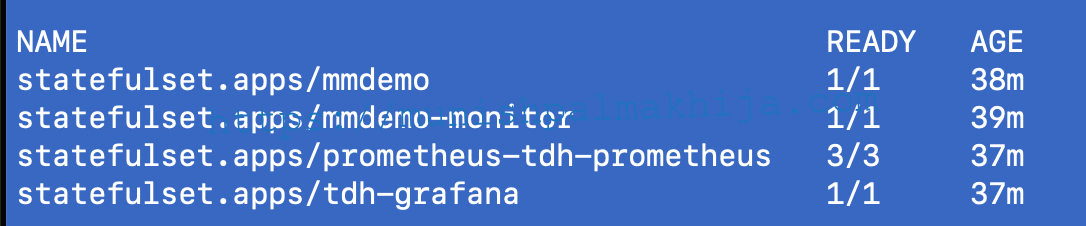
- postgres statefulset – Postgres instance using VMware Tanzu for Postgres operator
- Prometheus statefulset – Prometheus for Metrics collection
- grafana statefulset – Grafana for visualizing metrics on Dashboard
- velero node-agent daemonset – This is for backup & restore functionality of postgres instances/volumes
![]()
![]()
![]()

Conclusion
In this blog, I tried to describe the procedure to provision a PostgreSQL Database using the TDMC UI.
I feel TDMC brings the Cloud-like functionality on-prem. It makes it very simple to deploy, manage & operate Databases at Scale. It allows Database Admins to create a new database in minutes and offers flexibility to customize databases to meet their needs.
Additionally, it provides a monitoring stack that provides great insights into the performance of the database. This makes it one one-stop shop for all supported Data Services